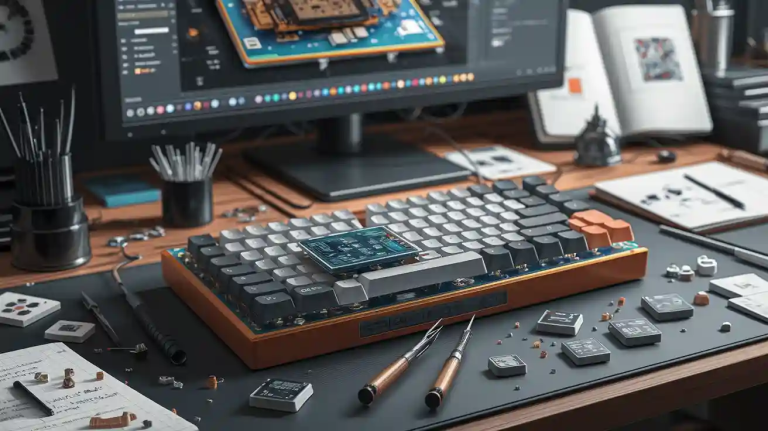
Retro mechanical keyboards are special because they feel old-fashioned. They also provide a satisfying clicky feel when typing. Creating a Mechanical keyboard PCBA for these keyboards requires care and innovative ideas. You have to blend old-school aesthetics with modern features. Building one involves selecting components, designing a unique layout, and ensuring compatibility with DIY keyboards. This process demands careful planning and design.
Key Takeaways
- Pick the best switches for your keyboard. Linear, tactile, and clicky switches feel different. Choose what fits your typing style best.
- Design your keyboard layout wisely. A good layout makes typing easier and more comfy. Leave enough space between keys for smooth typing.
- Use strong materials for your PCB. Materials like FR-4 make it tougher. This helps your keyboard work well and last longer.
Important Parts for a Mechanical Keyboard PCBA
Kinds of mechanical switches
Mechanical switches are the main part of a keyboard. They decide how typing feels with feedback, force, and durability. There are three main types: linear, tactile, and clicky. Linear switches feel smooth and are great for gaming. Tactile switches have a bump that helps with accurate typing. Clicky switches make a loud click sound, giving an old-school vibe. Picking the right switch depends on what you like and need.
What diodes do in the key matrix
Diodes are very important in a keyboard’s key matrix. They stop problems like “ghosting” and “key rollover.” This ensures the keyboard reads keys correctly, even when pressing many at once. Without diodes, wrong keys might register, making typing annoying. For custom keyboards, place diodes carefully for good performance.
Picking the best microcontroller
The microcontroller is the keyboard’s brain. It reads key presses and talks to the computer. Retro keyboards need a microcontroller that is fast and saves power. Here’s a table showing a good microcontroller:
| Feature | Details |
|---|---|
| Main Frequency | 150 MHz |
| RAM | 520 KB |
| Flash | 2 MB |
| Sleep Power Consumption | 25 uA |
| Size | 25 x 20.5 mm |
| Dual-core Architecture | Arm Cortex-M33 or RISC-V Hazard3 |
| Application | Retro Computers, Keyboard Control |
This microcontroller works well and uses little power, perfect for retro designs.
Connectors and how they connect
Connectors let your keyboard link to other devices. USB is common because it works with most devices and is easy to use. For retro keyboards, PS/2 connectors can keep the old-school look. Choose strong connectors that last through many uses.
Retro parts like LEDs and rotary encoders
Retro keyboards often have cool parts like LEDs and rotary encoders. LEDs make the keyboard look nice with lights or show status. Rotary encoders can control volume or scrolling while keeping a vintage style. Adding these parts makes your keyboard unique and fun for DIY projects.
Key Points for Keyboard PCB Design
Keyboard layout and key matrix
The keyboard’s layout decides how it works and feels. Choose the size and number of keys based on the style, like full-size or 60%. Keep enough space between keys for easy typing. Place parts smartly to keep the design neat and signals clear.
When making the key matrix, balance space and comfort. Small layouts should still feel good to use. Keep power and data lines apart to avoid signal problems. This helps the keyboard work better and more reliably.
Retro look and custom options
Retro keyboards are cool because they look old-fashioned. Add things like round keys, soft colors, or wood designs. Let users change keys or parts to make it their own. These features make the keyboard fun and special for fans.
Choosing USB or PS/2
Picking the right connection type is important. USB works with most devices today. For a retro vibe, use PS/2 connectors. They look old-school but still work well. Match the connection type to the keyboard’s design and user needs.
Power use and lasting quality
Good power use is key for a keyboard PCB. Use low-power chips and energy-saving modes to save battery. Manage heat with tools like heat sinks to keep it cool. These steps make the keyboard last longer and work better.
| Feature | Details |
|---|---|
| Heat Control | High-use keyboards get hot; cooling is very important. |
| Power Saving | Low-power chips help batteries last longer. |
| Heat Dissipation | Use heat sinks or cooling methods for better performance. |
| Energy Efficiency | Save power when the keyboard isn’t being used. |
Making a custom keyboard
Building a custom keyboard takes careful planning. Start by deciding the layout and wiring. Mix retro looks with modern features. Use strong materials to make it last. Focus on these details to create a great-looking and useful keyboard.
Step-by-Step Process for Custom Keyboard PCB Design
Making a custom keyboard PCB needs careful steps. Each step helps make a good and reliable keyboard.
Planning and drawing the circuit
Start by drawing a clear circuit diagram. Include all parts like switches, diodes, and the microcontroller. Arrange them neatly and label everything. Good planning here avoids mistakes later. Place parts smartly to stop interference and improve how it works. Don’t let signal lines run side by side to avoid problems. Follow rules to make sure your design is ready for production.
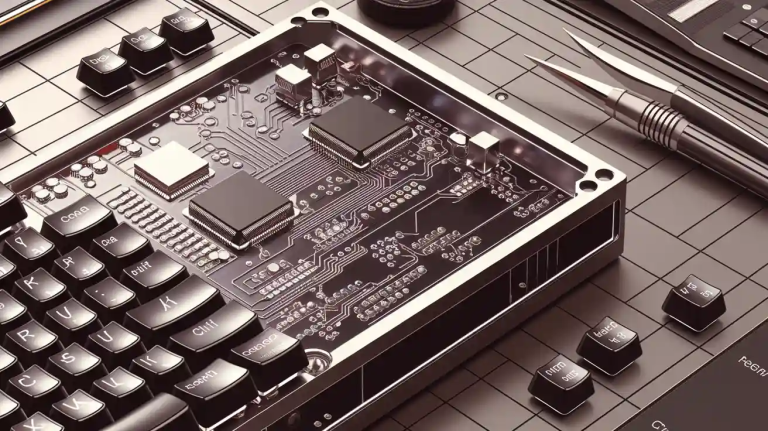
Placing parts on the PCB
The PCB layout is where the circuit becomes real. Put parts like microcontrollers and connectors in the best spots. Keep important parts away from the edges for better performance. Make signal lines short and spaced out to avoid issues. Place connectors like USB or PS/2 where they’re easy to reach. Give signal lines clear paths to keep them strong. Check your layout with design tools before moving on.
Testing with a prototype
Prototyping helps you see if your design works. Send your layout to a factory to make a sample. When it arrives, test its size, how it works, and overall quality. Look for problems like wrong wiring or signal issues. Use this step to find what needs fixing.
Improving the design after testing
Fix any problems found during testing. Change the layout, move parts, or adjust signal lines if needed. Test again to make sure everything works well. This step turns your design into a finished product ready for use.
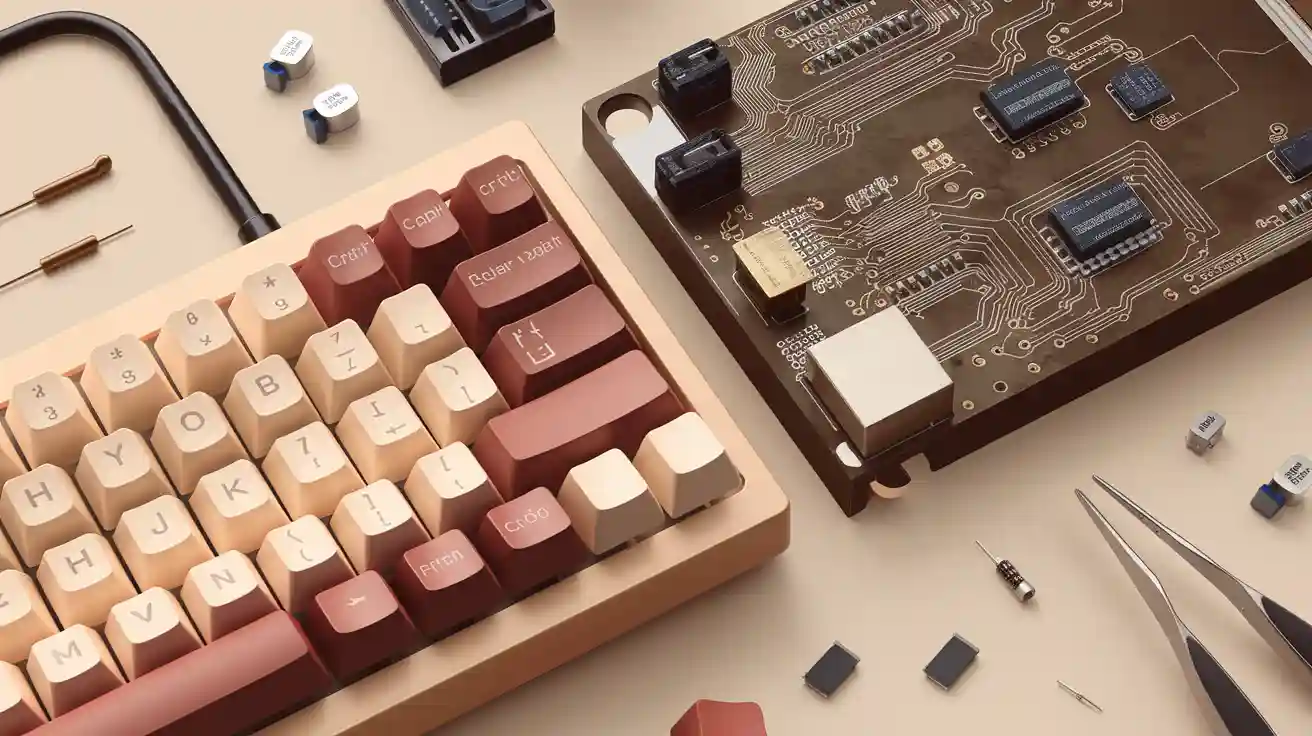
Making a Custom Keyboard PCB
Picking materials for the PCB
Choosing good materials is very important for a strong PCB. For the base, you can use FR-4, polyimide, ceramic, or metal-core PCBs. Each material has special benefits like heat resistance or strength. Copper foil helps with electricity flow and affects heat control. To protect the PCB, use solder masks or coatings that handle high heat. Materials like fiberglass or aramid fibers stop bending or breaking, making the PCB last longer.
Creating Gerber files and BOM
Gerber files are like maps for your PCB design. They show details about layers, copper lines, and labels. Make sure these files are correct and follow factory rules. Also, make a Bill of Materials (BOM) listing all parts like switches and diodes. A clear BOM makes buying parts easier and avoids mistakes during building.
Working with PCB makers
Teamwork with PCB makers helps meet quality and cost goals. Sharing ideas can save money and make production faster. New PCB design tools let you share data safely with manufacturers. This makes communication easy and speeds up production.
| Key Aspect | Description |
|---|---|
| Saving Money | Working together finds ways to lower costs for new products. |
| Faster Production | Clear designs make it easier to move from testing to full production. |
| Sharing Tools | Modern software allows safe sharing of designs and data for smooth production. |
Checking quality during production
Good quality checks keep defects low and keyboards reliable. PCB defect rates are very small, only 0.12%. Out of 18,797 PCBs, only 21 had problems. Common issues include broken LEDs or misplaced parts. Fixing these quickly keeps production standards high and ensures great products.
| Defect Type | Count | Responsibility |
|---|---|---|
| Broken LEDs | 3 | Customer’s mistake |
| Faulty PCB | 1 | Factory error |
| Misaligned parts | 4 | Factory error |
| Other small issues | 1-3 | Random problems |
Assembly and Programming of the Keyboard PCB
Soldering and attaching parts
Soldering is very important for building your keyboard PCB. It helps attach all parts securely to the circuit board. For small parts (SMD), reflow soldering works best. For through-hole parts, often in retro designs, wave soldering or selective soldering is better. The table below shows the best soldering methods for each part type:
| Soldering Method | Best for These Parts |
|---|---|
| Wave soldering | Through-hole parts, some SMD parts |
| Reflow soldering | SMD parts |
| Selective soldering | Through-hole parts on mixed boards |
Choosing the right soldering method reduces mistakes and makes the keyboard last longer.
Putting together the case and PCB
After soldering, put the PCB and case together. Line up the PCB with the case, making sure holes match. Use screws or clips to hold it in place. Arrange cables like USB or PS/2 neatly for a clean look. Adding retro parts like rotary knobs or lights makes the keyboard look cooler.
Writing firmware for the keyboard
Programming the PCB is needed to make the keyboard work. Use methods like Test-Driven Development (TDD) or Continuous Integration (CI) to avoid errors. The table below explains these programming methods:
| Method | What It Does |
|---|---|
| Test-Driven Development | Write tests first to ensure everything works well. |
| Mocking | Use fake objects to test how parts interact. |
| Continuous Integration | Test changes automatically to improve performance. |
These methods make programming easier and improve how the keyboard works.
Testing and fixing the keyboard
Testing is the last step to check if the keyboard works. Start with Engineering Validation Tests (EVT) to check the design. Then do Design Validation Tests (DVT) to improve production. Finally, run Production Validation Tests (PVT) to check performance. The table below explains these steps:
| Test Phase | What It Checks | Details |
|---|---|---|
| Engineering Validation | Tests the design and engineering | No specific numbers |
| Design Validation | Improves production and meets needs | 50–200 units, better yield |
| Production Validation | First big production run with no changes | 500+ units, checks yield/time |
Using tools like IoT and AI makes testing more accurate. These tools help find problems faster and ensure a high-quality keyboard.
Making a retro mechanical keyboard PCBA needs both creativity and care. Plan the layout well and pick the right parts. Test prototypes to make sure everything works properly. Pay attention to small details and test often for better results. Begin your custom keyboard PCB project now and create something special!
FAQ
What matters most when designing a keyboard PCB?
Focus on the layout and key matrix. These decide how the keyboard works, feels, and matches retro styles.
Can modern parts be used in a retro keyboard PCB?
Yes, you can add modern parts like microcontrollers and LEDs. They improve how it works but still keep the old-fashioned look.
How can I make my keyboard PCB last longer?
Pick strong materials like FR-4 for the base. Use energy-saving parts and manage heat well to make it last longer.