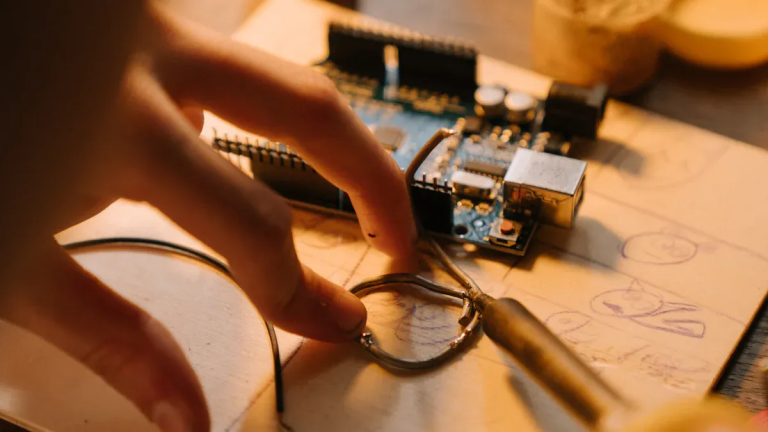
Making a mechanical keyboard PCBA lets you design it your way. Custom keyboards are very popular because they are flexible and useful. You can try different layouts, switches, and cool features like RGB lights. This makes typing better and feels nicer than regular keyboards.
Building a custom keyboard PCB is fun for engineers and hobbyists. You can make a keyboard that fits your needs, like for gaming or work. Beginners should learn about the circuit matrix, pick good switches, and check USB compatibility. A clear guide helps make building easier and successful.
Key Takeaways
- Custom mechanical keyboards let you pick layouts, switches, and lights. This makes typing more fun and comfortable.
- To build a keyboard, you need tools like a soldering kit, work mat, and screw tray. These tools help you work faster and make a better keyboard.
- Plan your keyboard layout carefully. Think about size and shape for gaming or typing to make it easy to use.
- Prototyping is important. It lets you test your design, fix problems, and make sure it works before finishing.
- Testing and fixing problems are important steps. Check often while building to find and fix issues early for a great keyboard.
Tools and Software for Designing a Mechanical Keyboard PCB
Important Tools for Making Custom Mechanical Keyboards
To make custom keyboards, you need the right tools. These tools help you work better and faster. Here’s a list of must-have tools:
- Soldering Kit: Includes a soldering iron, solder, and holder. It’s needed to put your PCB together.
- Fan: Keeps air fresh and removes harmful fumes.
- Work Mat: Protects your desk and stops parts from sliding.
- Screw Tray: Keeps screws and small parts organized so they don’t get lost.
- Stem Holder and Switch Opener: Makes it easier to hold and open switches.
These tools make building easier and improve your keyboard’s quality.
Best PCB Design Software
Picking the right software is key for designing a keyboard PCB. Here’s a table comparing popular software:
| Software | Pros | Cons |
|---|---|---|
| Altium Designer | Many features, easy for experts | Hard to learn, weak FPGA design |
| PADS | Great for fast designs, works with other software | Costs more than OrCAD |
| OrCAD | Easy to upgrade, offers different levels | Less advanced than Allegro |
| Eagle CAD | Loved by hobbyists, has good community help | Lacks advanced tools |
| DipTrace | Cheap, simple for beginners | Not ideal for big projects |
For beginners, Eagle CAD and DipTrace are great because they’re simple. Experts often use Altium Designer for its advanced tools.
Extra Help for Keyboard PCB Design
Using extra resources can make designing easier. Follow these steps to build your keyboard:
- Plan Your Design: Use layout tools to decide your keyboard’s look and features.
- Schematic Design: Draw a detailed plan to connect everything correctly.
- PCB Layout Design: Place parts carefully for the best performance.
- Prototyping: Test your design with a sample board to check size and function.
- Assembly and Testing: Add parts like switches and diodes, then test each part.
Online forums and free designs on GitHub can teach you a lot. Companies like PCBWay can also help you make prototypes.
Tip: Check out free guides online to learn and improve your keyboard designs.
Step-by-Step Guide to Designing a Custom Mechanical Keyboard PCBA
Planning the Layout for Your Mechanical Keyboard
Start by planning your keyboard’s layout. Choose its size, shape, and key setup. Popular layouts include 60%, TKL, and full-size keyboards. Each layout works for different needs. A 60% layout is small and easy to carry. A full-size layout is better for work tasks.
Think about how you’ll use the keyboard. For gaming, pick layouts with quick key access. For typing, ergonomic layouts help reduce hand strain. Use tools like Fusion 360 or SolidWorks to design and check your layout. Trusted fabrication services can turn your design into reality.
Tip: Make sure your layout fits the switches you want, whether soldered or hot-swappable.
Creating the Circuit Matrix for the Keyboard PCB
The circuit matrix is the heart of your keyboard PCB. It links switches in rows and columns, cutting down on extra circuits. This makes the design simpler and cheaper but still effective.
Add diodes to stop key ghosting. Diodes let current flow one way, avoiding wrong key presses. Draw a clear schematic to show all connections. This helps prevent mistakes and ensures everything connects properly.
Note: A good matrix design boosts performance and makes fixing problems easier.
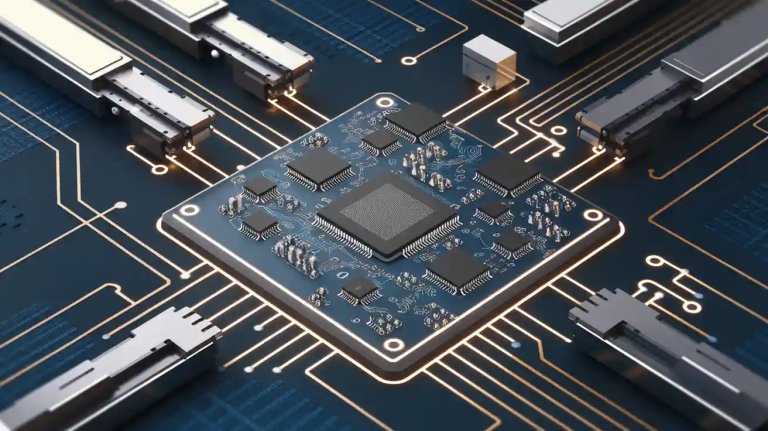
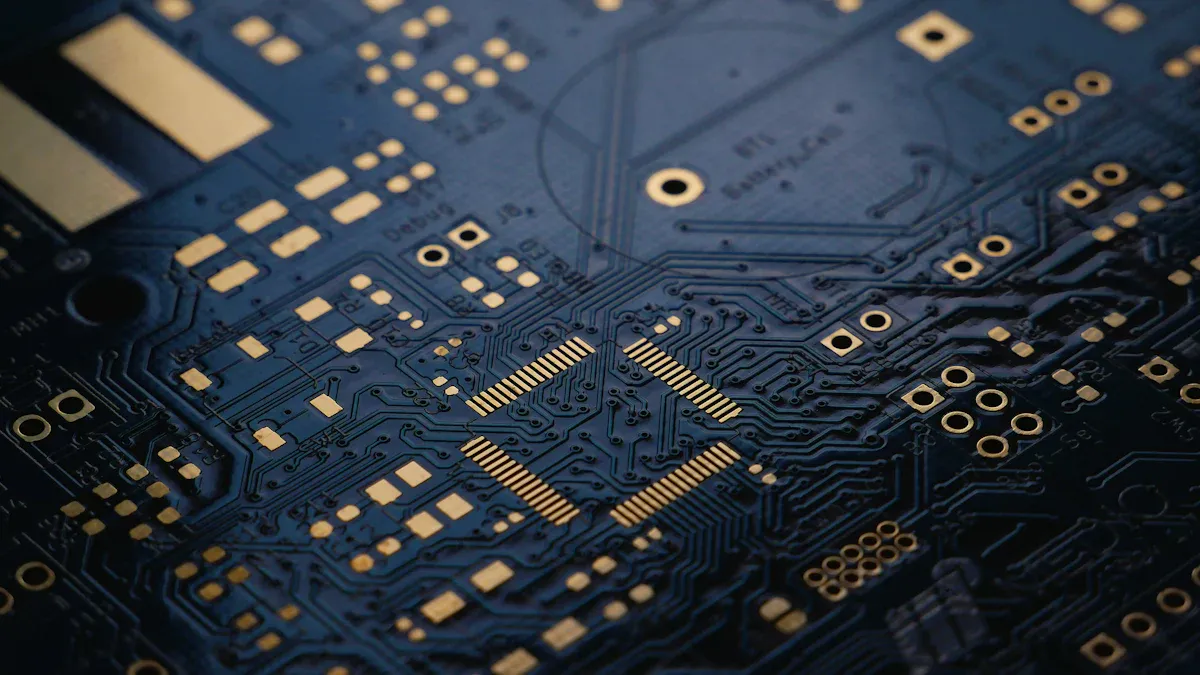
Designing the PCB Layout for a Custom Mechanical Keyboard
After the matrix, design the PCB layout. Place parts like switches, diodes, and the microcontroller on the board. The ATmega32u4 is a favorite for USB use and programming. Use software like Eagle CAD or Altium Designer to arrange parts and connect them with copper traces.
Add spots for extras like RGB lights or USB ports. Prototyping is key here. It lets you test and tweak the design before making more boards. Work with manufacturers like PCBWay for top-quality prototypes.
Reminder: Test your prototype carefully to find and fix problems before finalizing it.
Integrating Firmware into the Mechanical Keyboard PCBA
Firmware is very important for how a mechanical keyboard PCBA works. It connects the hardware, like switches, to the computer. Adding firmware improves the keyboard and adds features like USB and Bluetooth.
First, create firmware that matches your PCB design. Pick a microcontroller, like the ATmega32u4, which works with USB. The firmware links the circuit matrix so each keypress is sent to the computer. For example, when you press a key, the firmware reads the signal and sends it through USB. This makes typing fast and smooth.
You can add cool features to your firmware. Some let you switch devices quickly, like typing on a phone by tapping it. This makes the keyboard more useful. Adding Bluetooth can also save battery for wireless keyboards.
Write PC drivers to work with different operating systems. Drivers help the computer recognize the keyboard and use its features. For USB keyboards, firmware and drivers work together to send data faster and use less power.
Examples show how firmware helps in keyboard design. During testing, firmware made it easy to use both USB and Bluetooth. This improved the design and made the keyboard better.
Tip: Test firmware on prototypes to fix problems before final production.
Good firmware makes your mechanical keyboard PCBA work well and gives users more options.
Manufacturing and Prototyping Considerations
Picking Materials for Your Mechanical Keyboard PCB
Choosing good materials is very important for custom keyboards. Materials affect how strong, useful, and nice your keyboard looks. Make sure parts like switches, diodes, and the PCB work well together. For example, if you want hot-swappable switches, your PCB must allow easy switch changes without soldering.
Think about these points when picking materials:
| Criteria | What It Means |
|---|---|
| PCB Size and Layout | Should fit the case and match the layout you want. |
| Switch Compatibility | PCB must work with the switches you choose. |
| Solder vs Hot-Swap | Hot-swap lets you change switches easily without soldering. |
| Firmware Support | Some PCBs need programming for custom features. |
| Brand Quality | Better brands last longer and work better. |
| Price | Your budget affects which parts you can buy. |
Looks matter too! RGB lights and cool keycaps make your keyboard stand out. Always pick strong materials for a keyboard that lasts.
Getting Files Ready for Manufacturing
Before making your keyboard PCB, prepare your design files carefully. Factories need Gerber files to build your PCB. These files must be in RS274X or RS274D format and use positive polarity for outer layers. Use a Gerber viewer to check your files for mistakes.
Here’s a simple checklist to help you:
| Requirement Type | What You Need |
|---|---|
| File Extensions | Correct file types for PCB design submissions. |
| Gerber File Submission | Put all files in one .zip folder and check them in a viewer. |
| PCB Order Checklist | Follow all rules before sending your files. |
| Clearance Rules | Leave enough space for power, ground, and mounting holes to avoid problems. |
Good file preparation makes manufacturing easier and avoids mistakes.
Testing and Prototyping Your Custom Keyboard PCB
Prototyping is a key step in making a keyboard PCB. It helps you test your design, find mistakes, and check how circuits work. This step ensures your final product works well before making many copies.
During prototyping, focus on these methods and checks:
| Technique/Metric | What It Does |
|---|---|
| Prototype Creation | Build a model to test and fix design problems. |
| Visual Check | Look for issues like bad solder joints or broken traces. |
| Electrical Testing | Test circuits for proper connections and insulation. |
| Automated Optical Inspection (AOI) | Use cameras to find alignment and solder mistakes. |
| In-Circuit Testing (ICT) | Test parts and circuits with special tools. |
| Burn-In Testing | Test under tough conditions to find weak spots early. |
Prototyping helps improve your design and ensures it works well. Tests like electrical checks and burn-in testing show if your PCB can handle real use. Spending time on prototyping saves money by avoiding big mistakes later.
Tip: Test your prototype carefully to find problems early and make your keyboard better.
Testing and Troubleshooting the Mechanical Keyboard PCBA
First Assembly and Testing of the Keyboard PCB
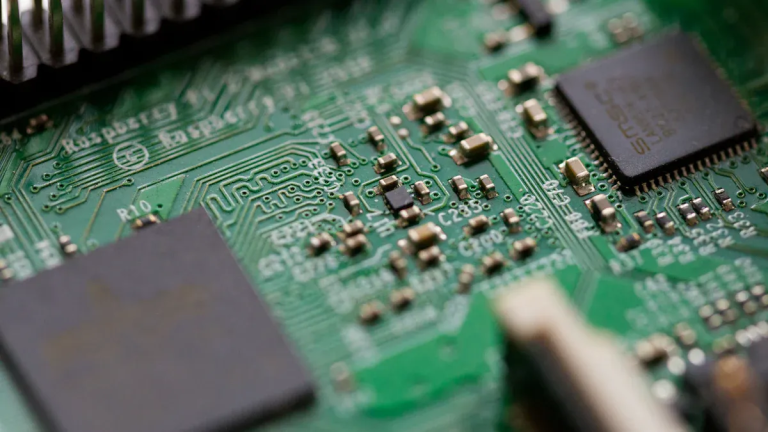
When building your mechanical keyboard PCBA, work carefully and test often. Start by looking at the PCB for problems like broken lines or bad solder spots. This step helps you find visible issues early. Next, add parts like switches, diodes, and the microcontroller. Make sure each part is in the right place and firmly attached.
After assembly, check the connections with a multimeter. Test for proper flow and insulation. Then, load the firmware onto the microcontroller and check if the keyboard works. Plug the PCB into a USB port and test every key. Fix any problems right away to avoid bigger issues later.
Tip: Test your PCB step by step. This makes it easier to find and fix problems early.
Fixing Common Problems in Custom Mechanical Keyboards
Fixing problems is a big part of making custom keyboards. Issues often come from soldering mistakes, connection troubles, or firmware errors. For example, bad solder spots can make keys stop working. Heating the spot again and adding flux usually fixes it. If many keys act up at once, look for extra solder connecting them and remove it with a desoldering braid.
If the keyboard won’t turn on, check the USB port and cable for damage. Fix broken lines with conductive ink or solder wire. Firmware problems, like wrong key actions, can be solved by reloading the correct firmware. Always use firmware that matches your PCB design.
| Problem Type | Signs of Trouble | How to Fix It |
|---|---|---|
| Soldering Issues | Bad Joints: Keys not working or acting weird. | Heat the joint again and use flux for better solder flow. |
| Extra Solder: Many keys acting at once. | Remove extra solder with a braid and ensure space between solder points. | |
| Connection Problems | Loose USB: Keyboard disconnects or won’t start. | Check cables and USB port for damage. Resolder if needed. |
| Firmware Errors | Wrong Keys: Keys do the wrong actions. | Reload the correct firmware. Make sure it matches your keyboard design. |
Final Checks for the Mechanical Keyboard PCBA
Final checks make sure your mechanical keyboard PCBA is ready to use. Start by looking for any leftover problems. Use cameras for automated checks to find missing parts or alignment issues. Electrical tests confirm the PCB works as it should.
In-circuit testing checks each part’s placement and performance. Stress testing, called burn-in testing, finds weak spots by pushing the PCB to its limits. These steps ensure your keyboard is strong and reliable.
| Quality Check Step | What It Does |
|---|---|
| Visual Check | Finds visible problems like bad solder or misplaced parts. |
| Electrical Testing | Confirms connections and checks for proper function. |
| Automated Optical Inspection | Uses cameras to spot missing parts or alignment mistakes. |
| In-Circuit Testing | Tests each part’s position and performance with special tools. |
| Burn-In Testing | Stresses the PCB to find weak spots and improve reliability. |
Note: Careful testing and fixing make your keyboard last longer and work better.
Making a custom mechanical keyboard PCBA needs careful steps. Start by planning the layout and designing the circuit matrix. Then, build a prototype to check for problems. Testing makes sure the PCB works well and meets standards. Fixing issues during these steps improves the keyboard’s strength and use.
Good planning and testing are very important. Prototyping helps you find and fix mistakes early. Use checks like looking for visible problems and testing circuits. These steps make sure your keyboard is reliable and works great.
Learn more by joining online groups and using free resources. Websites like GitHub and keyboard forums share helpful tips and ideas. Talking with others can help you improve your skills and make a special keyboard.
Tip: Always test and check quality to make your keyboard better in design and performance.
FAQ
What makes a mechanical keyboard PCB different from a membrane keyboard PCB?
A mechanical keyboard PCB uses switches for each key. This makes it stronger and gives a better typing feel. A membrane keyboard PCB uses pressure pads, which wear out faster and don’t feel as nice.
Can I create a mechanical keyboard PCB if I’m a beginner?
Yes, you can! Use simple software like Eagle CAD or DipTrace. Follow online guides and look at free designs for help. Learn about the circuit matrix and layout to get started.
Tip: Join online groups to get advice and solve problems.
How do I pick the best microcontroller for my keyboard PCB?
Choose one that works with USB and has enough pins. The ATmega32u4 is a favorite because it works well with custom firmware like QMK.
Why are diodes important in a keyboard PCB?
Diodes stop ghosting by letting current flow one way. This helps the keyboard read multiple key presses correctly without errors.
How do I check my mechanical keyboard PCB after building it?
Use a multimeter to test connections. Load the firmware onto the microcontroller. Plug it into a computer and test each key. Fix any problems before finishing the build.
Note: Testing step by step makes finding and fixing issues easier.