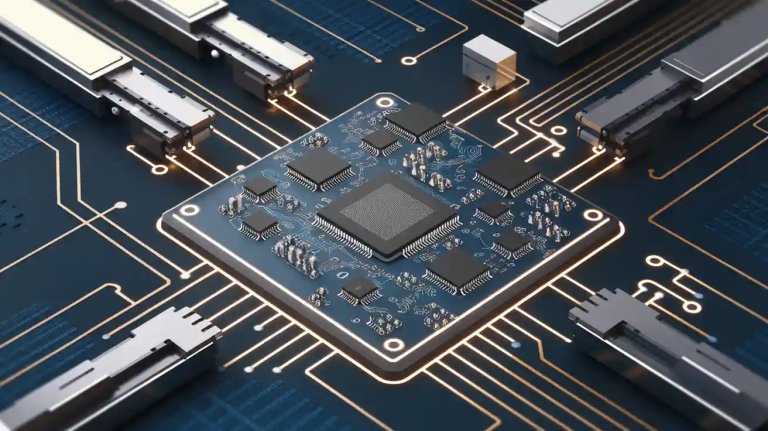
A mechanical keyboard PCB serves as the backbone of your custom keyboard, connecting every switch and component to create a seamless typing experience. Designing your own PCB gives you complete control over the layout, functionality, and aesthetics of your keyboard. This process allows you to craft a device that perfectly matches your preferences.
The popularity of custom mechanical keyboards has skyrocketed in recent years. For example:
- The mechanical keyboard market is expected to grow from USD 2.42 billion in 2025 to USD 6.52 billion by 2032, with a CAGR of 15%.
- The global mechanical keyboard shaft market is projected to double from USD 1.23 billion in 2023 to USD 2.5 billion by 2032.
This growth highlights the increasing demand for personalized keyboards. To succeed in your design, focus on careful planning, precise measurements, and creative problem-solving. The result? A keyboard that’s uniquely yours.
Key Takeaways
- Making your own keyboard PCB lets you fully customize it.
- Pick a keyboard size and layout that fits your needs.
- Use good design tools like KiCad or Eagle for easy plans.
- Test your design with breadboards or 3D prints to find problems.
- Check your PCB carefully to make sure it works correctly.
Understanding the Basics of a Mechanical Keyboard PCB
What is a Mechanical Keyboard PCB
A mechanical keyboard PCB is the foundation of any mechanical keyboard. It connects the switches, stabilizers, and other components, ensuring that every keypress is registered accurately. Unlike membrane keyboards, mechanical keyboard PCBs use individual physical switches for each key. This design allows for greater customization, durability, and tactile feedback. Whether you’re building a gaming keyboard or a minimalist typing device, the PCB determines how your keyboard functions and feels.
Different types of PCBs cater to various needs. For example:
| Type of PCB | Description |
|---|---|
| Mechanical Keyboard PCB | Uses individual switches for enhanced feedback and customization. |
| Gaming Keyboard PCB | Features anti-ghosting, macros, and RGB lighting for gamers. |
| Ergonomic Keyboard PCB | Designed for natural wrist positioning to reduce strain. |
| Wireless Keyboard PCB | Includes Bluetooth or RF connectivity for cable-free operation. |
Understanding these options helps you choose the right PCB for your project.
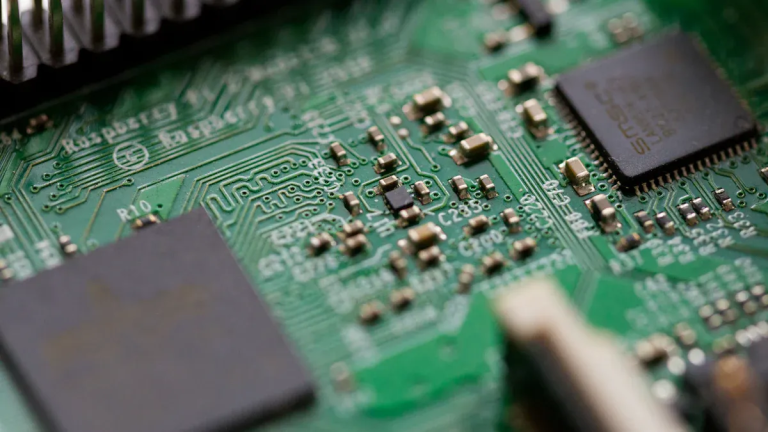
Key Components of a Custom Mechanical Keyboard PCB
To design a custom mechanical keyboard PCB, you need to know its essential components. Each part plays a critical role in ensuring functionality and performance. Here’s a breakdown:
| Component | Description |
|---|---|
| Power Supply | Provides stable power, typically +5V or +3.3V, via USB or wireless. |
| Microcontroller | Acts as the brain, processing key inputs and managing lighting effects. |
| Switches | Mechanical switches for precise and tactile keypresses. |
| Switch Diodes | Prevent ghosting, enabling multiple simultaneous key presses. |
| Key LEDs | Illuminate keys with single-color or RGB lighting. |
| Pull-up Resistors | Ensure accurate key detection and prevent false triggers. |
| ESD Protection | Shields components from electrostatic discharge damage. |
These components work together to create a seamless typing experience. For example, the microcontroller processes your inputs, while the diodes ensure no ghosting occurs during fast typing.
Tools and Materials Needed for PCB Design
Designing a mechanical keyboard PCB requires specific tools and materials. Having the right equipment ensures precision and efficiency. Here’s what you’ll need:
- PCB Design Software: Tools like KiCad or Eagle help you create schematics and layouts.
- Soldering Kit: Includes a soldering iron, solder wire, and flux for assembling components.
- Multimeter: Essential for testing electrical connections and troubleshooting issues.
- Switches and Stabilizers: Choose based on your preferred typing feel and layout.
- Microcontroller: Select one compatible with your design, such as an ATmega32U4.
- Prototyping Materials: Breadboards and jumper wires for testing your design before manufacturing.
Investing in quality tools saves time and reduces errors. For instance, a reliable soldering kit ensures clean and secure connections, while good design software simplifies the layout process.
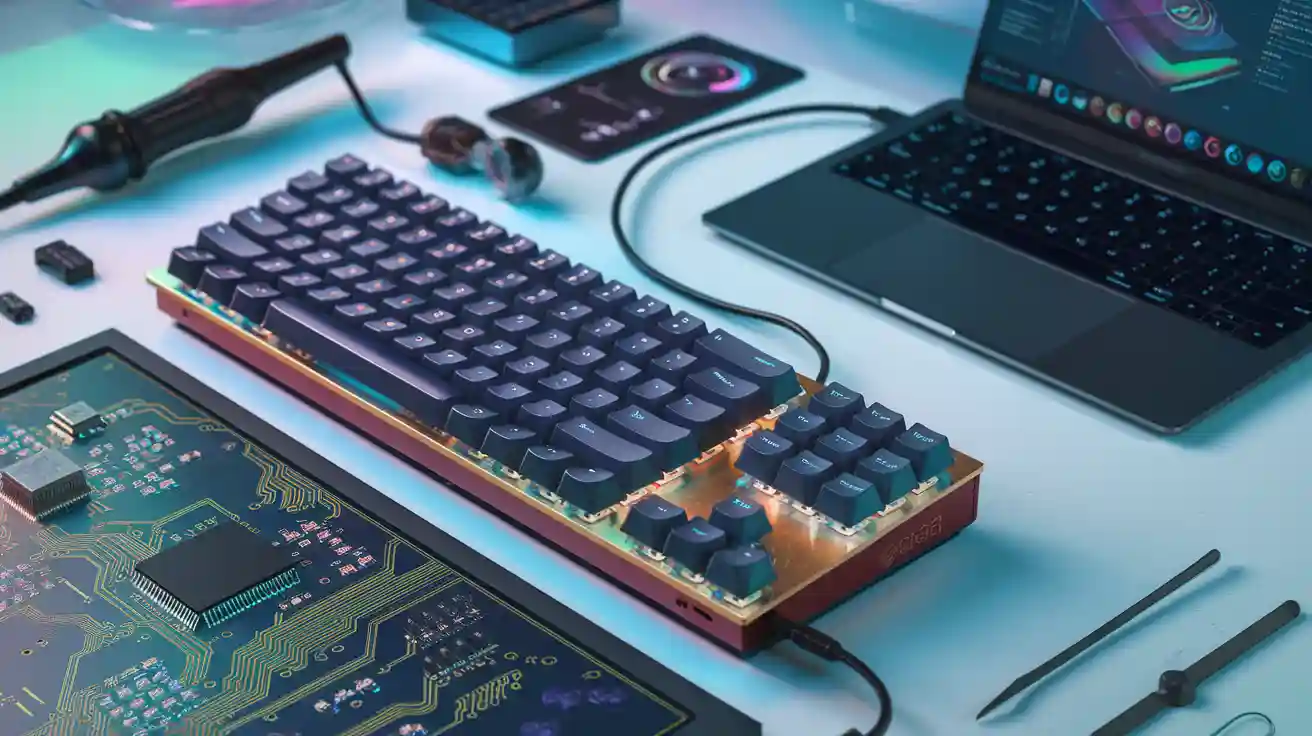
Planning Your Custom Mechanical Keyboard Design
Choosing the Keyboard Layout and Size
Selecting the right keyboard layout and size is the first step in creating your custom mechanical keyboard. The layout determines how the keys are arranged, while the size affects portability and desk space. You should consider your specific needs, such as gaming, typing, or general use, before making a decision. For example:
- Full-sized (100%): Includes all keys, offering comprehensive functionality. Ideal for those who need a numeric keypad and function keys.
- Tenkeyless (80%): Removes the numeric keypad, saving desk space while retaining most keys.
- Compact (60%): Focuses on essential keys, making it perfect for portability and minimalist setups.
Your desk space also plays a role. Larger layouts require more room, while smaller ones fit better in tight spaces. By choosing the right keyboard layout and size, you ensure comfort and usability tailored to your preferences.
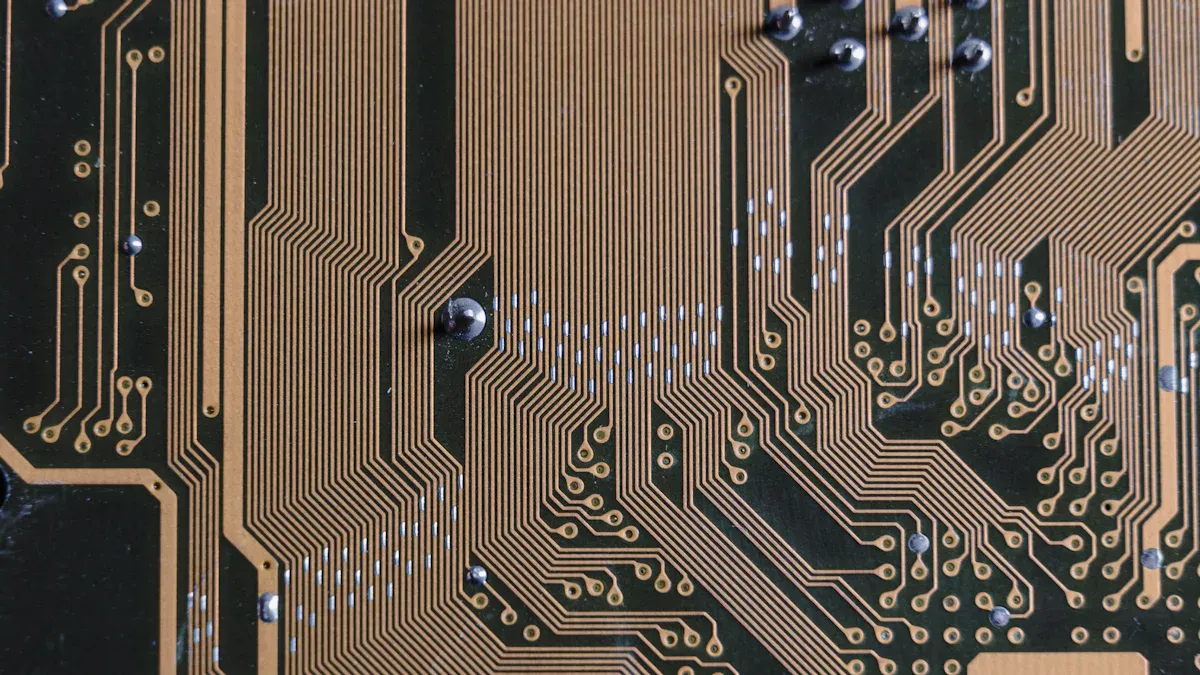
Designing the Keyboard Matrix
The keyboard matrix is the electrical grid that connects your switches to the microcontroller. It determines how keypresses are registered. A well-designed matrix prevents issues like ghosting and ensures accurate input. To build a reliable matrix, you’ll need to incorporate key components such as:
- Switch Diodes: Prevent ghosting, allowing multiple simultaneous key presses.
- Pull-up Resistors: Ensure reliable key actuation and prevent false signals.
- Filtering Capacitors: Minimize electrical noise on data lines.
When designing the matrix, plan the rows and columns carefully. Each switch connects to a specific point in the grid. This setup reduces the number of microcontroller pins required, making your design more efficient. A clear and organized matrix simplifies the wiring process and ensures smooth functionality.
Stabilizers and Switch Placement
Stabilizers and switch placement significantly impact your keyboard’s performance. Stabilizers keep larger keys, like the spacebar and Enter key, steady during use. Poorly installed stabilizers can cause rattling or ticking sounds, which degrade the typing experience. To avoid these issues, focus on achieving a balance between tightness and flexibility. Stabilizers should fit snugly to prevent noise but remain loose enough for smooth movement.
Switch placement also requires precision. Each switch must align perfectly with the PCB and the case. Misaligned switches can cause uneven keypresses or damage the PCB. Take your time to map out the placement, ensuring every key feels consistent and responsive. By prioritizing stabilizers and switch alignment, you enhance both the functionality and feel of your custom mechanical keyboard.
Using Software to Design Your Mechanical Keyboard PCB
Introduction to PCB Design Software
PCB design software is your most powerful tool when creating a custom mechanical keyboard PCB. It allows you to translate your ideas into a functional design. With the right software, you can create schematics, design layouts, and ensure your PCB meets all technical requirements. Popular options like KiCad, Eagle, and Altium Designer offer user-friendly interfaces and advanced features to streamline the process.
When choosing software, focus on its compatibility with your project needs. For example, KiCad is free and open-source, making it ideal for beginners. On the other hand, Eagle provides robust features for more complex designs. By selecting the right tool, you can simplify the design process and avoid unnecessary complications.
Tip: Start with software tutorials to familiarize yourself with the interface and basic functions. This preparation will save you time and frustration later.
Creating the Schematic and Layout
The schematic is the blueprint of your mechanical keyboard PCB. It maps out the connections between components, ensuring everything works together seamlessly. Begin by placing key components like the microcontroller, diodes, and resistors in the schematic editor. Then, connect them using virtual wires to define the electrical pathways.
Once the schematic is complete, move on to the layout. This step involves arranging the components on the PCB and routing the traces that connect them. Effective planning during this stage can save you significant time and effort. Improvising often leads to costly revisions due to overlooked details. Syncing your schematic and layout ensures consistency, allowing you to focus on innovative design rather than fixing errors.
- Benefits of efficient schematic and layout creation:
- Saves time by reducing the need for revisions.
- Prevents costly mistakes with a unified data model.
- Enhances team communication through centralized design assets.
Note: Keep your design compact but avoid overcrowding components. Proper spacing improves performance and reduces the risk of electrical interference.
Ensuring Compatibility and Error Checking
Before finalizing your design, you must ensure compatibility and eliminate errors. PCB design software includes tools for running electrical rule checks (ERC) and design rule checks (DRC). These features identify potential issues, such as overlapping traces or incorrect connections, that could compromise your PCB’s functionality.
Compatibility is equally important. Verify that your design aligns with the specifications of your chosen manufacturer. This step includes checking the board dimensions, hole sizes, and trace widths. Syncing your schematic and layout also helps you avoid miscommunication and file organization issues, saving time and effort during production.
Tip: Double-check your design files before submission. A small oversight can lead to delays or additional costs during manufacturing.
By mastering these steps, you can confidently build custom mechanical keyboards that meet your exact needs.
Prototyping and Testing Your PCB

Methods for Prototyping a Custom Mechanical Keyboard PCB
Prototyping is a critical step in designing a mechanical keyboard PCB. It allows you to test your design before committing to mass production. Several methods can help you create a prototype efficiently:
- 3D Printing: Use a 3D printer to create a physical model of your PCB. This method is cost-effective and allows you to test the fit and alignment of components.
- Breadboarding: Assemble your circuit on a breadboard to test the electrical connections. This approach is ideal for identifying design flaws early.
- Modular Prototyping: Build your keyboard in sections to test individual components. This method simplifies debugging and ensures each part functions correctly.
Prototyping reduces errors and saves money. For example, modular designs allow you to refine ergonomics quickly. According to a 2022 study, traditional prototyping methods are time-consuming, but advancements like 3D printing have revolutionized the process.
| Evidence Description | Year |
|---|---|
| Building numerous physical prototypes and conducting ergonomic testing on real users | 2022 |
| Traditional prototyping methods are time-consuming and costly | 2022 |
| The advent of practical consumer 3D printing revolutionized prototyping | 2014 |
| Modular design allows for rapid iteration and optimization of keyboard ergonomics | 2022 |
Testing for Electrical and Functional Issues
Testing your PCB ensures it performs as expected. Start by checking for electrical continuity using a multimeter. This step confirms that all connections are intact. Next, test the functionality of each key to ensure accurate input registration.
Several proven methods can help you identify issues:
- Functional Testing: This method detects circuit anomalies and measures power absorption. It’s flexible and customizable for various PCBs.
- Boundary Scan Testing: Evaluate interconnections without accessing all nodes. This approach works well for system-level testing.
| Testing Method | Advantages | Disadvantages |
|---|---|---|
| Functional Testing (FCT) | – Finds potential circuit anomalies. | – Defect discovery rate depends on the test plan. |
| – Measures power absorption at specific points. | – Requires trained technicians to isolate defects. | |
| – Flexible and customizable for various PCBs. | – Complex PCBs may need aging tests despite passing functional tests. | |
| Boundary Scan Testing | – Evaluates interconnections without reaching all nodes. | – May not detect all types of defects in less complex designs. |
| – Versatile for various applications (system-level testing, memory testing). | – Requires specific setup and understanding of the circuit design for effective testing. |
Testing your PCB thoroughly ensures reliability and prevents costly redesigns.
Debugging and Refining the Design
Debugging is an essential part of testing your PCB. If you encounter issues, start by isolating the problem. Use a multimeter to check for short circuits or broken connections. Review your schematic and layout to identify potential errors.
Refining your design involves making adjustments based on test results. For example, if you notice ghosting during key presses, consider adding more diodes to your matrix. Prototypes allow you to test these changes before finalizing your design. Early detection of flaws saves time and ensures your keyboard meets performance standards.
By following these steps, you can confidently build custom mechanical keyboards that function flawlessly. Prototyping and testing your PCB are crucial for achieving a high-quality final product.
Manufacturing and Assembling Your Custom Mechanical Keyboard
Selecting a PCB Manufacturer
Choosing the right PCB manufacturer is crucial for your project’s success. A reliable manufacturer ensures high-quality production, timely delivery, and minimal defects. Start by evaluating their pricing, lead times, and quality standards. Request detailed quotes that break down costs for materials, production, and testing. This transparency helps you compare options effectively.
Consider factors like manufacturing capabilities, customer support, and certifications. Look for facilities equipped with advanced technology and testing labs. Manufacturers offering in-line Automated Optical Inspection (AOI) and flying probe testing ensure better quality control. Reputable producers often achieve a First Pass Yield (FPY) of 95%-98% and maintain a Customer Return Rate below 1%. These metrics reflect their commitment to excellence.
Tip: Select a manufacturer with a proven track record and the ability to meet your timeline. Delays can disrupt your entire project.
Preparing and Submitting Design Files
Accurate design files are essential for smooth manufacturing. Export your PCB design into a universal format like Gerber or ODB++. Ensure all files are properly labeled and packaged. Include fabrication instructions detailing board dimensions, hole sizes, and surface finishes. A well-prepared Bill of Materials (BOM) with component quantities and supplier details simplifies the process.
Follow these steps to prepare your files:
- Export Gerber files, drill files, and netlist data.
- Request a Design for Manufacturability (DFM) report to verify your design’s accuracy.
- Provide additional details like material types and special finishes in your fabrication notes.
- Submit your files along with the BOM and any special instructions.
Note: Double-check your files before submission. Errors can lead to delays or increased costs.
Soldering Components and Final Assembly
Soldering is the final step in bringing your keyboard to life. Start by evaluating your components for reliability and compatibility. Optimize their placement to ensure proper heat dissipation and signal integrity. Use surface mount technology (SMT) for faster and more efficient assembly.
Apply Design for Assembly (DFA) principles to streamline the process. This approach reduces errors and improves efficiency. Implement thorough testing procedures, such as AOI and X-ray inspections, to detect defects early. Comprehensive quality control ensures your keyboard meets industry standards.
Quality Assurance: Regular audits and testing at critical stages help maintain high assembly quality. Aim for a Defects Per Million Opportunities (DPMO) of 500-1000 to achieve professional-grade results.
By following these steps, you can confidently manufacture and assemble a custom mechanical keyboard that performs flawlessly.
Programming Firmware for Your Keyboard
Programming firmware is the final step in bringing your custom mechanical keyboard to life. Firmware acts as the brain of your keyboard, controlling how it responds to keypresses, lighting effects, and other functions. By customizing the firmware, you can unlock advanced features and tailor your keyboard to your exact needs.
Why is firmware important?
Firmware logic controls the microcontroller, enabling essential functions like key mapping and lighting effects. Without it, your keyboard would be just a collection of switches and circuits.
To get started, you’ll need to choose a firmware platform. QMK (Quantum Mechanical Keyboard) is one of the most popular options. It offers a wide range of features, including media key mapping, macro programming, and dynamic lighting control. With QMK, you can even create separate numpads or use artisan keycaps for unique layouts.
Steps to Program Your Firmware:
- Download the Firmware Tools
Visit the QMK website and download the QMK Toolbox. This tool simplifies the process of flashing firmware onto your keyboard. - Customize Your Keymap
Use the QMK Configurator, a web-based tool, to design your keymap. Assign functions to each key, such as shortcuts, macros, or media controls. For example, you can map a key to mute your audio or launch a specific application. - Compile the Firmware
Once your keymap is ready, compile it into a binary file. QMK dynamically generates and runs binaries based on structured data, streamlining the development process. - Flash the Firmware
Connect your keyboard to your computer via USB. Use the QMK Toolbox to flash the compiled firmware onto your keyboard. This step programs the microcontroller with your custom settings.
Tip: Test your keyboard after flashing the firmware. Ensure all keys function as intended and that lighting effects match your design.
Custom firmware enhances your keyboard’s functionality and flexibility. It allows you to control lighting, map media keys, and create macros. With the right tools and a bit of creativity, you can transform your keyboard into a powerful, personalized device.
Designing your own mechanical keyboard PCB is a rewarding journey that combines creativity, technical skills, and problem-solving. By following the key steps—creating a schematic, designing the PCB layout, writing firmware, and assembling components—you can bring your vision to life. Each stage offers opportunities to refine your design and improve functionality.
Don’t hesitate to experiment. Use tools like 3D printing to prototype quickly and test ideas. Modular designs and A/B testing can help you optimize ergonomics and performance. Track metrics like latency or functionality to identify areas for improvement. Iterative design ensures your keyboard evolves with each version.
Troubleshooting is part of the process. Validate your keyboard’s functionality by testing every component. Debugging issues, such as ghosting or misaligned switches, teaches you valuable lessons for future projects. Each challenge you overcome builds your expertise.
The satisfaction of typing on a keyboard you designed is unmatched. It’s more than a tool—it’s a reflection of your creativity and effort. Start your project today and experience the joy of crafting something truly unique. 😊
FAQ
What is the best software for designing a mechanical keyboard PCB?
You should start with KiCad or Eagle. Both are beginner-friendly and offer powerful tools for creating schematics and layouts. KiCad is free and open-source, while Eagle provides advanced features for complex designs. Choose based on your project needs and budget.
How do I avoid ghosting in my keyboard design?
Add diodes to your keyboard matrix. Diodes prevent ghosting by ensuring each keypress registers independently. Place one diode per switch in your design. This simple addition guarantees accurate input, even during fast typing or gaming sessions.
Can I design a wireless mechanical keyboard PCB?
Yes, you can! Use a microcontroller with Bluetooth or RF capabilities, like the nRF52840. Include a power management system and a rechargeable battery. Wireless designs require extra planning, but they offer the convenience of cable-free operation.
How do I test my PCB before manufacturing?
Use a breadboard to prototype your circuit. Test electrical connections with a multimeter and simulate keypresses. Alternatively, create a 3D-printed model to check component alignment. Prototyping helps you identify and fix issues before committing to production.
Is programming firmware difficult for beginners?
Not at all! Platforms like QMK make it easy. Use the QMK Configurator to create your keymap and flash it onto your keyboard. Follow tutorials to learn the basics. With practice, you’ll master firmware programming and unlock advanced features for your keyboard.