Mechanical keyboards have revolutionized the way you type and game, offering unmatched tactile feedback and durability. Their appeal lies in the ability to create a personalized typing experience that combines functionality with aesthetics. Whether you’re a gamer seeking precision or a professional looking for comfort during long hours, these keyboards deliver superior performance, often enhanced by SMT (Surface Mount Technology) for improved reliability.
The global mechanical keyboard market is booming, with sales projected to grow from USD 1.89 billion in 2024 to USD 6.2 billion by 2032. This surge reflects the increasing demand for durable and customizable keyboards. Younger professionals and students are embracing the importance of design in enhancing productivity and comfort. Custom mechanical keyboards, in particular, have captured the imagination of enthusiasts who value creativity and individuality. From unique keycaps to programmable layouts, the possibilities are endless, especially with the integration of SMT in their construction.
Building your own custom mechanical keyboard allows you to design a tool that fits your needs perfectly. You can choose every component, from switches to cases, ensuring it aligns with your preferences. The satisfaction of assembling and using a keyboard you built yourself, often utilizing SMT for optimal performance, is unparalleled. It’s not just a device; it’s an extension of your personality.
Key Takeaways
- Mechanical keyboards give a comfy and better typing experience for all.
- Making your own keyboard lets you pick every part you like.
- Knowing parts like switches, keycaps, and PCBs helps make it strong.
- Testing your keyboard after building makes sure it works well.
- Spending time on good parts makes a keyboard fit your style and needs.
Components of a Mechanical Keyboard
Mechanical keyboards are made up of several key components that work together to deliver a superior typing experience. Each part plays a vital role in performance, durability, and customization.
Key Components
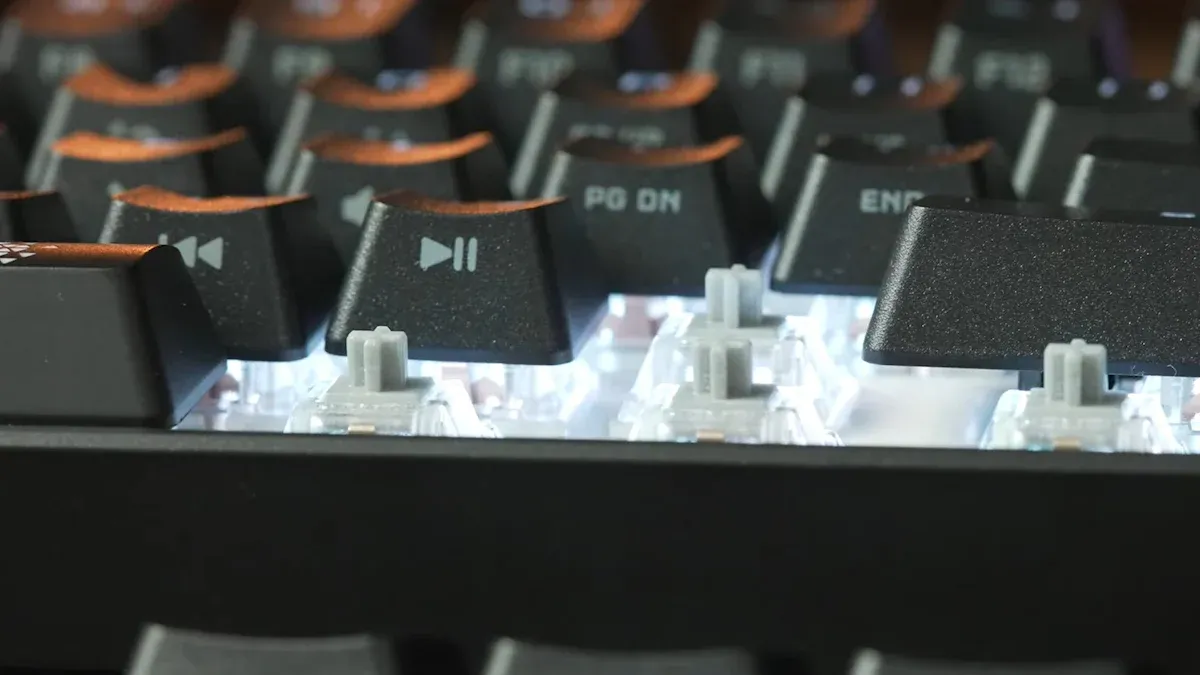
Switches and Their Types
Switches are the heart of any mechanical keyboard. They determine how each key feels and sounds when pressed. Unlike membrane keyboards, mechanical keyboards use individual switches for each key, which enhances durability and responsiveness. These switches can endure tens of millions of keystrokes, making them ideal for heavy use. Popular types include:
- Linear switches: Smooth and quiet, perfect for gaming.
- Tactile switches: Provide a noticeable bump, ideal for typing.
- Clicky switches: Offer both a tactile bump and an audible click.
Advancements like optical switches have further improved response times and durability, reshaping user preferences.
Keycaps and Material Options
Keycaps are the visible parts of the keyboard that you press. They come in various materials, with ABS and PBT being the most common. ABS keycaps are lightweight and affordable, while PBT keycaps are more durable and resistant to wear. Custom keycap sets allow you to personalize your keyboard’s look and feel, adding a unique touch to your build.
PCB and Its Role
The PCB (Printed Circuit Board) is the backbone of your keyboard. It connects all the components and ensures each keypress registers correctly. High-quality PCBs often include features like hot-swappable sockets, allowing you to change switches without soldering. This flexibility makes it easier to experiment with different switches and layouts.
Case and Plate Design
The case and plate protect the internal parts and influence the keyboard’s aesthetics and sound profile. Cases can be made from plastic, aluminum, or even wood, each offering a distinct feel. Plates, typically made of metal or polycarbonate, provide structural support and affect typing acoustics.
Optional Features
Stabilizers for Smooth Typing
Stabilizers are essential for larger keys like the spacebar and Enter key. They prevent wobbling and ensure smooth, consistent keypresses. High-quality stabilizers can significantly improve your typing experience, especially if you plan to use your keyboard for long hours.
RGB Lighting for Aesthetics
RGB lighting adds a visual flair to your keyboard. You can customize the colors and effects to match your setup or mood. This feature is particularly popular among gamers, as it enhances the overall aesthetic of their gaming stations.
Sound Dampening Techniques
Sound dampening techniques, such as foam inserts or silicone pads, reduce noise and improve the keyboard’s acoustics. These additions make your keyboard quieter and more pleasant to use, especially in shared spaces.
The rising demand for customizable keyboards highlights the importance of these components. Whether you’re a gamer or a professional, understanding these parts will help you build a keyboard that meets your needs perfectly.
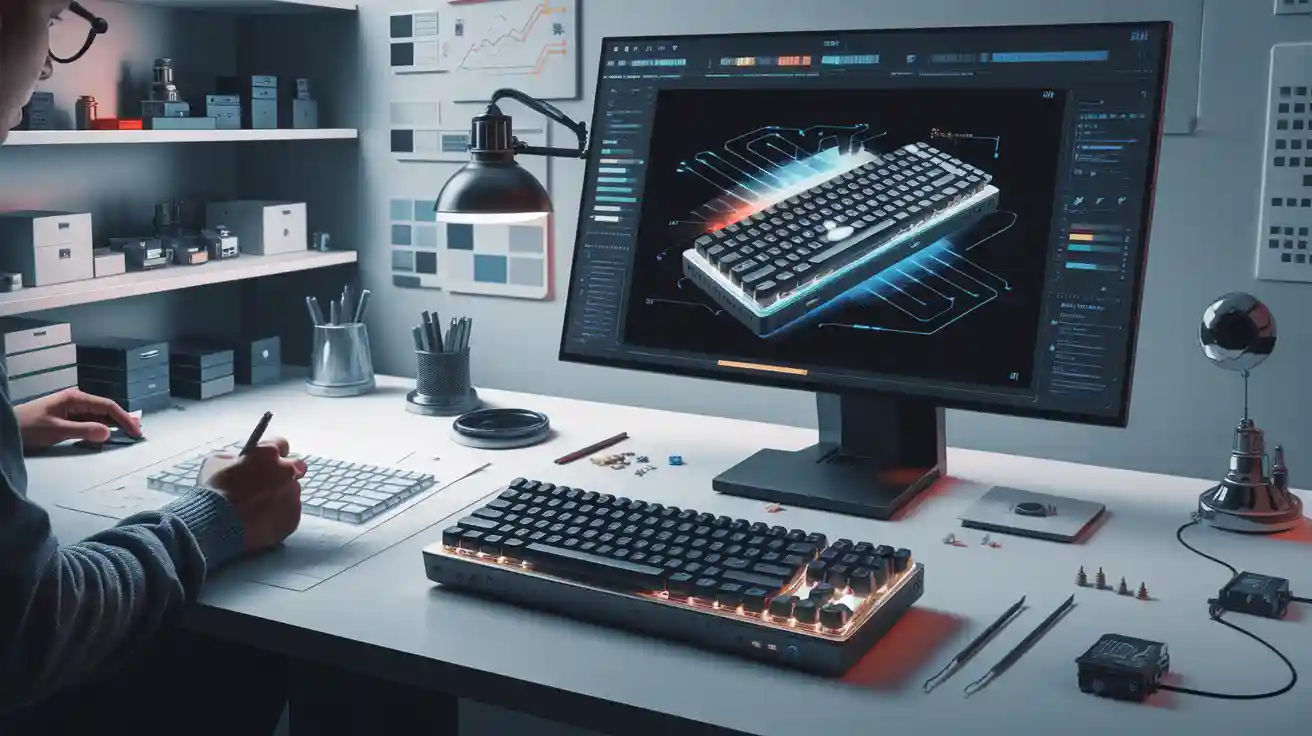
Designing a Custom Mechanical Keyboard
Concept and Layout
Choosing the Keyboard Layout
The keyboard layout is the foundation of your custom mechanical keyboard. It determines the size, key arrangement, and overall functionality. Popular layouts include full-size, tenkeyless (TKL), and compact 60%. Each layout serves different needs. For example, full-size keyboards are ideal for professionals who need a numeric keypad, while compact layouts save desk space and are favored by gamers.
Mechanical keyboards are built with individual switches for each key, making them more durable than membrane keyboards. This design ensures longevity and allows for easy repairs or replacements.
Market research shows that mechanical keyboards hold a significant share of the overall keyboard market, valued at $1.5 billion in 2023, with projected growth to $2.1 billion by 2032. This growth reflects the increasing popularity of customizable layouts among enthusiasts.
Aesthetic Design and Themes
Your keyboard’s aesthetic design is where creativity shines. You can choose themes that reflect your personality, such as retro, minimalist, or gaming-inspired designs. Custom keycaps, artisan keycaps, and RGB lighting can elevate your keyboard’s visual appeal. These elements not only enhance the look but also make your keyboard uniquely yours.
Material Selection
Case Materials and Their Impact
The case material significantly affects the keyboard’s durability, weight, and sound profile. Common materials include plastic, aluminum, and wood. Plastic cases are lightweight and affordable, while aluminum offers a premium feel and better sound dampening. Wood cases provide a unique, natural aesthetic. Choosing the right material ensures your keyboard aligns with your preferences and usage.
| Material | Durability | Texture | Wear Resistance |
|---|---|---|---|
| ABS | Moderate | Smooth | Low |
| PBT | High | Textured | High |
| POM | High | Smooth | Moderate |
Keycap Materials: ABS vs. PBT
Keycap material plays a crucial role in the typing experience. ABS keycaps are smooth and affordable but prone to wear over time. PBT keycaps are more durable, with a textured surface that resists shine. If you want a long-lasting keyboard, PBT is the superior choice.
Customization Features
Engraving and Personalization
Engraving adds a personal touch to your keyboard. You can engrave your name, logo, or favorite design onto the case or keycaps. This feature makes your keyboard truly one-of-a-kind and enhances its sentimental value.
Programmable Software Options
Programmable software allows you to customize your keyboard’s functionality. You can reassign keys, create macros, and adjust RGB lighting effects. These features improve productivity and enhance your typing experience. For example, programming macros can streamline repetitive tasks, saving you time and effort.
Mechanical keyboards excel in customization. You can swap keycaps, replace switches, and program keys to suit your needs. These options ensure your keyboard is tailored to your preferences, providing unmatched satisfaction.
Manufacturing Process of a Mechanical Keyboard
The manufacturing process of a mechanical keyboard is a fascinating journey that combines precision engineering with creative design. Each step, from crafting the case to assembling the PCB, ensures the final product meets the high standards expected by enthusiasts like you.
Case and Plate Production
CNC Machining for Metal Cases
CNC machining is the go-to method for producing metal cases. This process involves using computer-controlled tools to carve out the case from a solid block of aluminum or other metals. The result is a durable and premium-feeling case that enhances your keyboard’s overall quality. CNC machining allows for intricate designs, ensuring your keyboard stands out both in aesthetics and functionality.
Injection Molding for Plastic Cases
For plastic cases, injection molding is the preferred method. This process involves injecting molten plastic into a mold to create the desired shape. It’s a cost-effective way to manufacture cases while maintaining durability. Plastic cases are lightweight and versatile, making them a popular choice for budget-friendly builds.
Keycap Manufacturing
Double-shot Molding vs. Dye-sublimation
Keycaps are manufactured using two primary methods: double-shot molding and dye-sublimation. Double-shot molding involves injecting two layers of plastic to create keycaps with legends that never fade. Dye-sublimation, on the other hand, uses heat to transfer dye into the keycap material, offering vibrant and long-lasting designs. Both methods ensure your custom keycaps look stunning and perform reliably.
Custom Keycap Sets
Custom keycaps add a personal touch to your keyboard. Manufacturers often collaborate with designers to create unique sets that cater to various themes and preferences. Whether you prefer a retro aesthetic or a modern minimalist look, custom keycaps allow you to express your style.
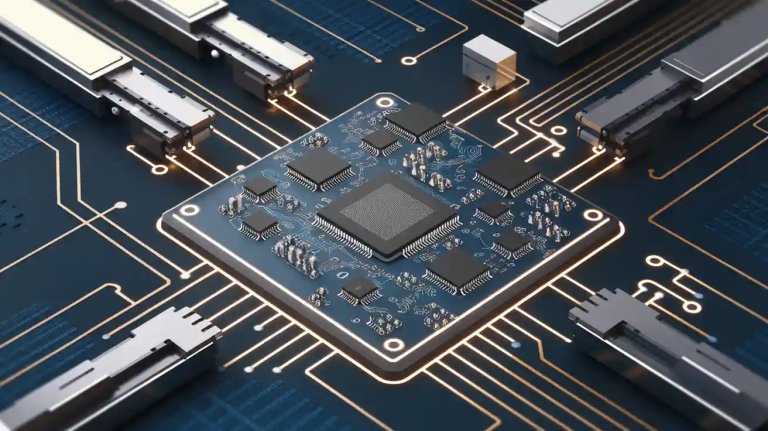
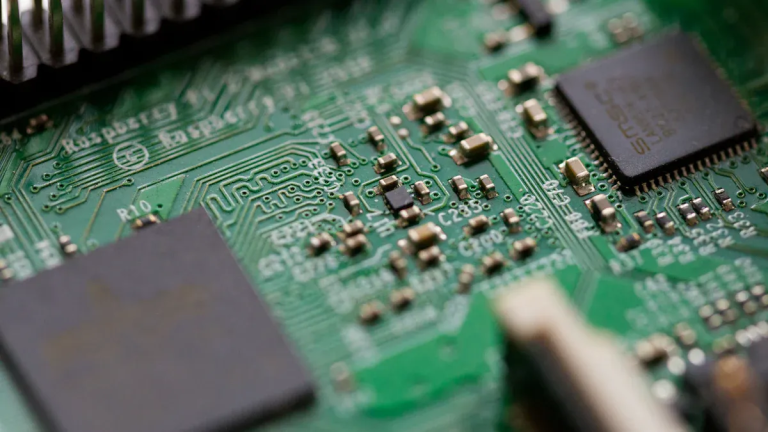
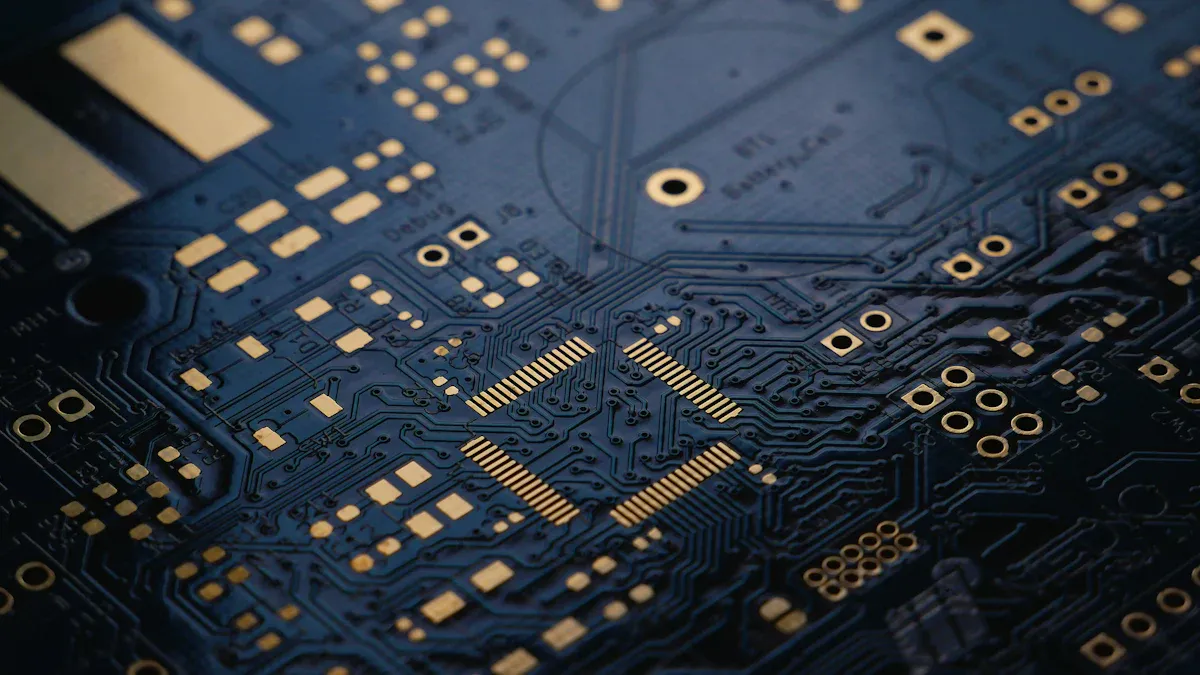
PCB Manufacturing with SMT
Circuit Design and Layout
The PCB is the brain of your keyboard, and its design is crucial for functionality. Engineers use CAD software to design the circuit layout, ensuring each keypress registers accurately. SMT (Surface Mount Technology) plays a vital role here, allowing components to be mounted directly onto the PCB. This method improves reliability and reduces the overall size of the board.
Soldering and Quality Control
Once the PCB design is finalized, the manufacturing process moves to soldering. SMT machines place components like diodes and resistors onto the board with precision. After soldering, each PCB undergoes rigorous quality control tests to ensure it functions perfectly. This step guarantees your keyboard delivers a flawless typing experience.
Mechanical keyboards may cost more to produce, but their durability and performance make them a worthwhile investment. The intricate manufacturing process, involving CNC machining, SMT, and other advanced techniques, highlights the efficiency and craftsmanship behind these keyboards.
Assembling the Keyboard
Preparation and Tools
Essential Tools for Assembly
Before starting your keyboard build process, gather the necessary tools to ensure a smooth assembly. Here’s a list of essential items you’ll need:
- Screwdrivers: For securing the case and plate.
- Tweezers: Useful for handling small components like stabilizers and switches.
- Soldering Iron: Required if your PCB isn’t hot-swappable.
- Keycap Puller: To easily remove or adjust keycaps.
- Lubricants: For stabilizers and switches to enhance smoothness.
- Multimeter: To test PCB connections and troubleshoot electrical issues.
These tools not only simplify the assembly but also improve the quality of your custom mechanical keyboard. Mechanical keyboards are built to last, with switches rated for tens of millions of keystrokes. Investing in the right tools ensures your keyboard performs flawlessly.
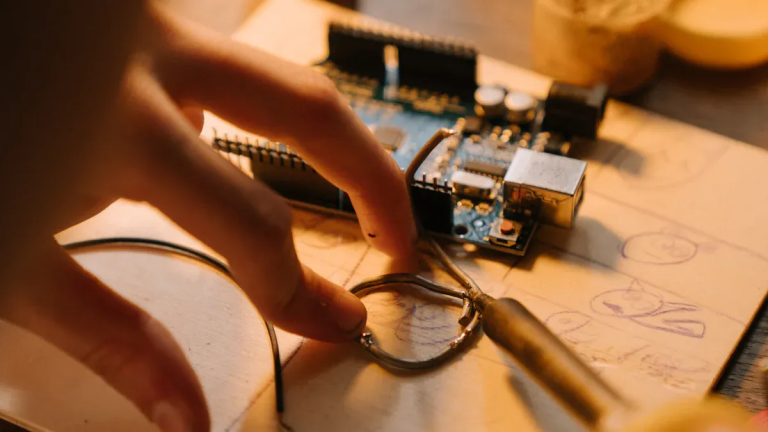
Setting Up a Workspace
A well-organized workspace is crucial for efficient assembly. Choose a flat, clean surface with ample lighting. Use a soft mat to protect delicate components like the PCB and switches. Keep your tools within reach and sort screws and small parts into containers to avoid misplacing them. This setup minimizes errors and enhances productivity during the keyboard build process.
Step-by-Step Assembly
Installing Stabilizers and Switches
- Prepping Stabilizers: Apply lubricant to the stabilizers for smoother keypresses. Install them onto the PCB, ensuring they’re secure.
- Installing Switches: Align each switch with the PCB and plate. Press gently until they click into place. Properly installing switches ensures they sit flush and function correctly.
Mounting the PCB and Plate
Place the PCB onto the plate, aligning the screw holes. Secure them together using screws, ensuring a snug fit. This step provides structural integrity to your keyboard and prevents wobbling during use.
Attaching the Case and Keycaps
Assemble the case by attaching the PCB and plate. Tighten the screws evenly to avoid misalignment. Finally, place the keycaps onto the switches, pressing firmly until they snap into place. This completes the physical assembly of your keyboard.
Troubleshooting and Adjustments
Fixing Common Assembly Issues
During assembly, you might encounter issues like unresponsive keys or misaligned components. Here’s how to address them:
| Issue Type | Symptoms/Problems | Solutions |
|---|---|---|
| Soldering Problems | Keys not registering or intermittent functionality. | Reheat solder joint to ensure proper flow and connection. |
| Connectivity Issues | Keyboard disconnects or doesn’t power on. | Check all cable connections for firmness. |
| Firmware Issues | Keys producing incorrect characters or functions. | Reflash the correct firmware for your keyboard model. |
Ensuring Proper Fit and Functionality
After assembly, test your keyboard using software like VIA or VIAL. Verify that all keys register correctly and inspect for any loose components. Adjust stabilizers or re-seat switches if necessary. These final checks ensure your custom mechanical keyboard is ready for use.
Building a keyboard may seem complex, but following these steps simplifies the process. With the right tools and preparation, you can create a durable and personalized keyboard that meets your needs.
Testing and Finalizing the Keyboard
Once you’ve assembled your custom keyboard, the final steps involve thorough testing and fine-tuning. This ensures your build not only functions perfectly but also delivers the aesthetic and acoustic experience you envisioned.
Functional Testing
Verifying Keypresses and PCB Connections
Testing your PCB is crucial to confirm that every keypress registers accurately. Start by connecting your keyboard to a computer and using software like VIA or VIAL to test each key. Press every key individually to ensure proper functionality. If any key fails to respond, inspect the solder joints or switch alignment for potential issues.
To validate the thoroughness of your testing, consider the following methodologies:
| Testing Methodology | Purpose |
|---|---|
| Visual Inspection | Identifies visible defects such as solder joints, traces, and component placement. |
| Electrical Testing | Ensures functionality through continuity, insulation resistance, and functionality testing. |
| Automated Optical Inspection (AOI) | Detects misalignment, missing components, and solder defects using camera systems. |
| In-Circuit Testing (ICT) | Verifies component presence, orientation, and electrical performance using a bed of nails. |
| Burn-In Testing | Identifies early failures and reliability issues by subjecting PCBs to stress conditions. |
These methods ensure your keyboard is reliable and ready for long-term use. By thoroughly testing your PCB, you can avoid frustrating issues down the line.
Aesthetic and Acoustic Checks
Inspecting for Imperfections
After verifying functionality, inspect your keyboard’s design for any imperfections. Look for scratches, uneven keycaps, or misaligned components. A clean and polished finish enhances the overall appeal of your build. If you notice any flaws, address them immediately to maintain the quality of your design.
Adjusting the Sound Profile
The sound of your keyboard plays a significant role in the typing experience. Test the acoustics by typing on different keys. If the sound is too loud or inconsistent, consider adding foam inserts or lubricating the switches and stabilizers. These adjustments can refine the sound profile, making your keyboard more enjoyable to use.
Final Touches
Firmware Updates
Updating your keyboard’s firmware ensures it operates with the latest features and bug fixes. Use the manufacturer’s software or tools like QMK Toolbox to flash the firmware. This step enhances functionality and keeps your keyboard compatible with modern systems.
Ensuring Durability and Longevity
To maximize the lifespan of your keyboard, double-check all screws and connections. Tighten any loose components and clean the surface to remove dust or debris. Proper maintenance ensures your build remains durable and reliable for years to come.
Taking the time to test and finalize your keyboard guarantees a satisfying typing experience. By addressing functionality, aesthetics, and durability, you’ll create a mechanical keyboard that stands out in both performance and design.
Creating a custom mechanical keyboard is a rewarding journey that combines creativity with precision. You start by carefully planning the design, selecting components like switches, keycaps, and cases to match your preferences. The manufacturing process demands attention to detail, especially in PCB production, where even minor errors can lead to failure. Assembly brings everything together, requiring patience and the right tools to ensure a flawless build.
The growing demand for personalized keyboards highlights the importance of quality and customization. By focusing on every detail, from design to assembly, you can craft a keyboard that reflects your style and meets your needs. Take the leap and start your project today. The satisfaction of typing on a keyboard you built yourself is unmatched. Remember, precision and patience are your keys to success.
FAQ
What makes a mechanical keyboard better than a membrane keyboard?
A mechanical keyboard uses individual switches for each key, offering better durability and responsiveness. You’ll enjoy a more tactile typing experience, with switches rated for tens of millions of keystrokes. Membrane keyboards, in contrast, wear out faster and lack the same level of customization.
Can I build a custom keyboard without soldering?
Yes, you can! Many PCBs now feature hot-swappable sockets. These let you install or replace switches without soldering. This option is perfect if you’re new to building keyboards or want to experiment with different switch types.
How do I choose the right switches for my keyboard?
Think about your typing style. Linear switches are smooth and ideal for gaming. Tactile switches provide feedback, making them great for typing. Clicky switches add an audible click for a satisfying sound. Test different types to find what feels best for you.
Are custom keyboards worth the investment?
Absolutely. A custom keyboard offers unmatched personalization. You can select every component, from switches to keycaps, to suit your preferences. The result is a durable, high-performance tool tailored to your needs, making it a worthwhile investment for enthusiasts and professionals alike.
How can I improve the sound of my keyboard?
You can enhance your keyboard’s sound by adding foam inside the case or using silicone pads. Lubricating switches and stabilizers also reduces noise. These adjustments create a quieter, more pleasant typing experience, especially in shared spaces.