A good keyboard PCB is the base of any custom keyboard. It links all parts, letting the keys talk to the computer. Making your own PCB lets you pick things like size, number of keys, and RGB lights. This way, you can build a keyboard that fits your needs and works better.
Things like PCB thickness, copper thickness, and how switches are mounted affect how the keyboard feels and works. Thicker copper helps signals travel better and makes it last longer. Adding RGB lights makes it look cool and adds more features. These choices make your keyboard special.
For making PCBs, KING FIELD is a trusted choice. They are skilled in PCB design and making, giving great results. Whether testing or making many, they help you create your dream keyboard.
Key Takeaways
- A custom keyboard PCB lets you pick layout, switches, and features, making typing better.
- Picking good tools and software, like KiCad or Eagle, is key for designing and fixing PCB mistakes.
- Testing early prototypes finds problems, so your final keyboard works great and meets your needs.
- Checking quality during production, like using AOI and burn-in tests, makes sure your keyboard lasts and works well.
- Using a reliable maker like KING FIELD makes production easier and ensures great results.
Understanding the Role of a Keyboard PCB
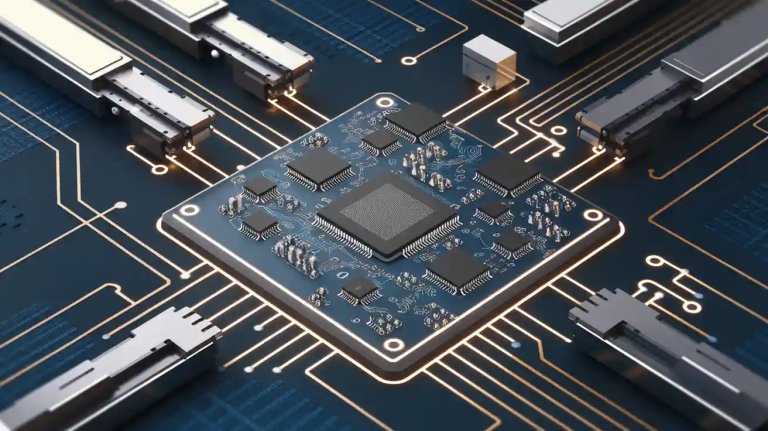
What is a Printed Circuit Board?
A printed circuit board (PCB) is the base of modern gadgets. It connects and holds parts using thin metal paths on a board. PCBs replaced messy wires in the 20th century. Over time, they became smaller and more advanced. This helped make devices like IoT tools and keyboards better.
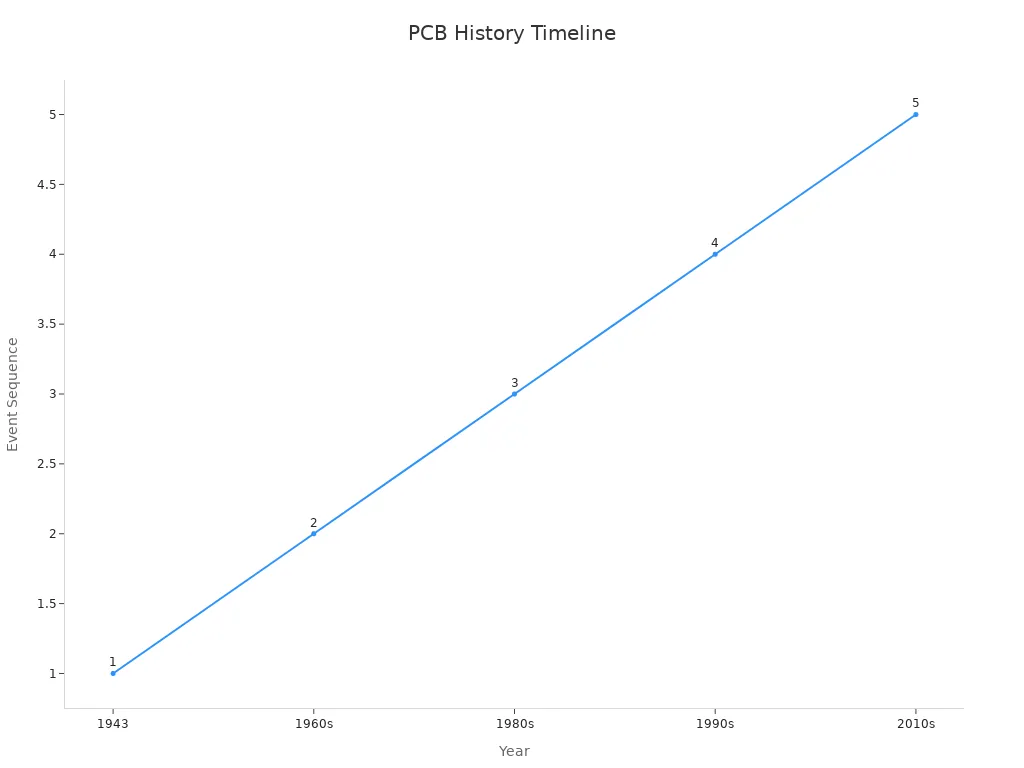
The history of PCBs shows how important they are:
- 1943: Paul Eisler made the first PCB for the military.
- 1960s: Integrated circuits allowed PCBs to have many layers.
- 1980s: Surface-mount tech made building PCBs faster.
- 2010s: New materials supported high-speed tech like 5G.
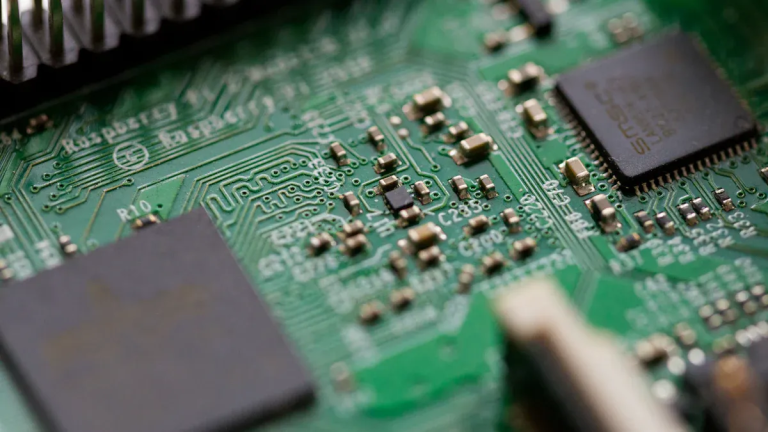
Key Features of a Mechanical Keyboard PCB
Mechanical keyboard PCBs are made for better use and strength. Important features include:
- Matrix Design: Stops ghosting and uses fewer microcontroller pins.
- PCB Thickness: Thicker boards make typing steadier.
- Copper Layer Thickness: More copper means faster signals and longer-lasting boards.
- Number of Layers: Extra layers make boards stronger and save space.
| Metric | Description |
|---|---|
| PCB Thickness | Thicker boards are stiffer and more stable for typing. |
| Circuit Board Size | Bigger keyboards need larger PCBs for proper layout. |
| Copper Layer Thickness | Extra copper helps signals move faster and prevents damage. |
| Number of Layers | More layers add strength and thickness; most PCBs have two layers. |
These features help your keyboard work well, even with heavy use.
Benefits of a Custom Keyboard PCB
A custom keyboard PCB has many perks over regular ones:
- Full Customization: Choose the layout, switch spots, and mounting style.
- Optimal Typing Experience: Place keys where you want for better comfort.
- Learning Opportunity: Learn about electronics, PCB design, and coding.
- Satisfaction & Community: Share your work with other keyboard fans.
Making your own keyboard lets you control every detail. You can create a one-of-a-kind typing tool that fits your style and needs.
Planning Your Custom Mechanical Keyboard PCB
Picking Your Keyboard Layout and Features
Start by deciding how your keyboard will look and work. Choose a layout that fits your needs. Common layouts include Full-Size, Tenkeyless (TKL), and smaller ones like 60%, 65%, or 75%. If you want comfort, try ergonomic or split designs to ease typing strain.
Next, pick switches based on how you type. Linear switches, like Cherry MX Red, feel smooth. Tactile switches, such as Cherry MX Brown, give a small bump when pressed. Clicky switches, like Cherry MX Blue, make a sound and give feedback. These choices change how your keyboard feels and sounds.
Think about extra features to make your keyboard better. RGB lights make it colorful, and wireless options make it easy to move. Add encoder wheels or macro keys for gaming or work tasks. Make sure your microcontroller can handle these features and has good software support.
Choosing Tools and Software for PCB Design
Pick the right tools and software to design your keyboard PCB. Programs like KiCad, Eagle, or Allegro X PCB Designer are great choices. They help you draw circuits, connect parts, and check for mistakes.
For example, Allegro X PCB Designer uses AI to place parts correctly. It also fixes errors in three steps, saving time. But remember, some software may slow down with big projects, so choose wisely.
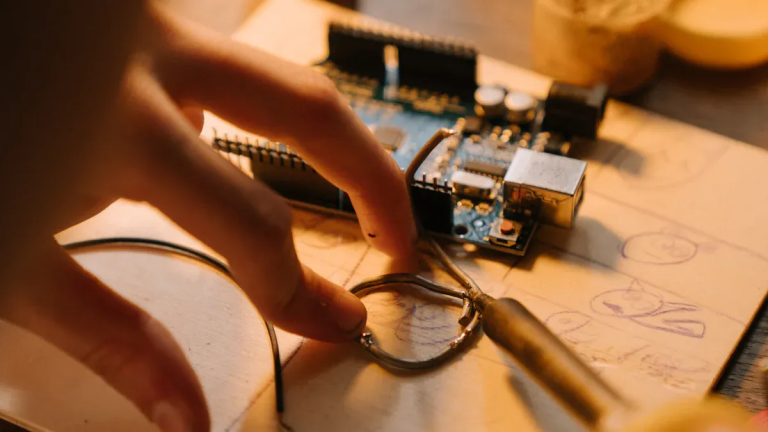
Get good hardware tools too. A soldering station, multimeter, and oscilloscope are must-haves. These tools help you test and fix problems while building your keyboard PCB.
Planning Costs and Time
Plan your budget and schedule to stay organized. List all parts you need, like switches, keycaps, a case, and a plate. Save money for making and testing the PCB. Don’t forget extras like RGB lights or wireless parts.
Set goals for each step of the project. For example, spend two weeks designing the circuit and two more weeks on the PCB layout. Leave time for testing and fixing problems. This keeps your project on track.
Tip: Always save extra time and money for surprises, like fixing mistakes or finding missing parts.
By planning your layout, picking the right tools, and setting a budget and timeline, you can create a custom keyboard that’s perfect for you.
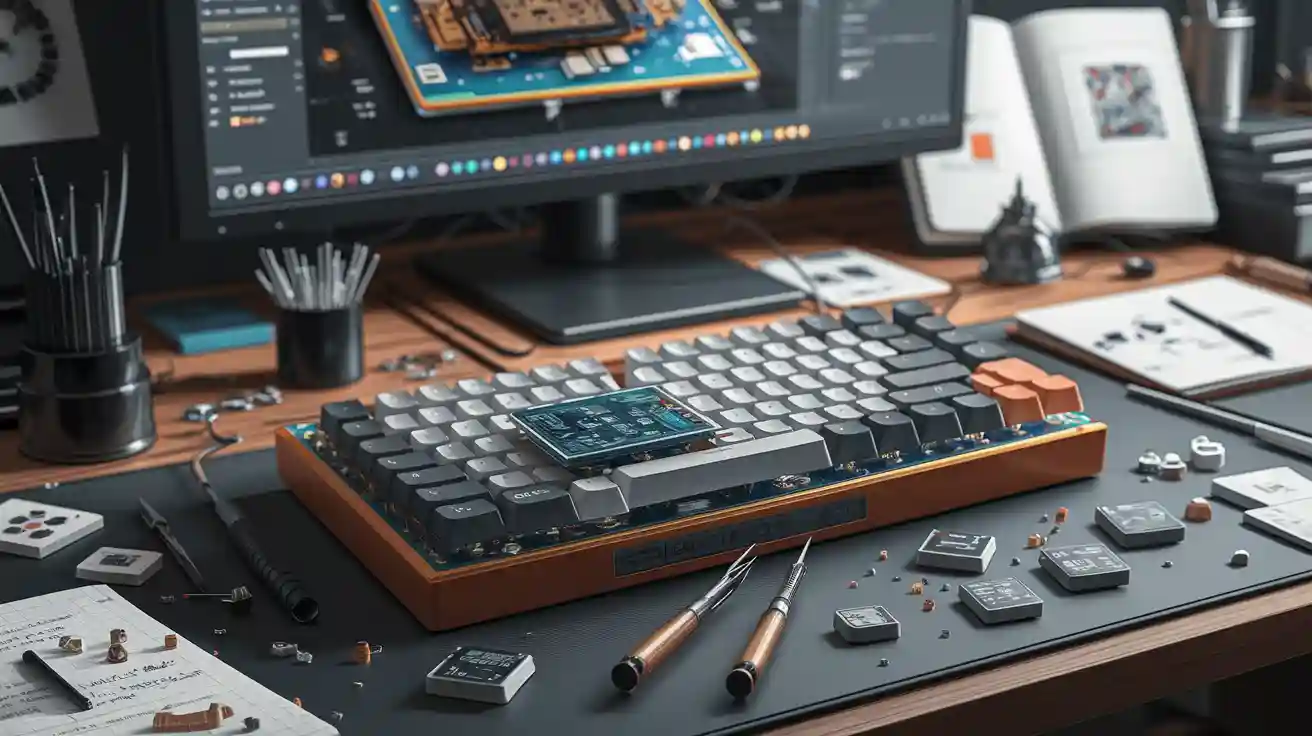
Designing the Schematic and PCB Layout

Making the Schematic for Your Keyboard PCB
The schematic is like a map for your keyboard PCB. It shows how parts connect and ensures everything works. Use software like KiCad or Eagle to start. These programs help you design the keyboard matrix, which links rows and columns to microcontroller pins. This step is key for detecting keypresses correctly.
Follow these steps to make your schematic:
- Decide on your keyboard’s features, like keys, switches, and lights.
- Add parts like diodes, resistors, and the microcontroller to the design.
- Check all connections to avoid missing or overlapping links.
- Create Gerber files, which include details for making the PCB, like hole sizes and labels.
A good schematic makes it easier to design the PCB and reduces mistakes later.
Tips for PCB Layout Design
A smart PCB layout helps your keyboard work well and last long. Start by placing parts in logical spots. Put the microcontroller in the center to keep traces short. Use straight, short traces to connect parts for better signals. On multi-layer PCBs, switch trace directions on each layer to avoid problems.
Here are more tips:
- Keep layers balanced to stop the board from bending.
- Choose trace widths that handle the current and are easy to make.
- Use thermal reliefs for through-hole parts to help with soldering.
By following these tips, you can make a strong and reliable PCB for your keyboard.
Avoiding PCB Design Errors
Mistakes in PCB design can cause big problems or failures. Wrong sizes or not enough space can mess up assembly. High heat can damage parts and hurt performance. To avoid these issues, always double-check your design before making the PCB.
Testing is very important. Build a prototype and look for problems like missed keypresses, bad RGB lights, or USB issues. Fixing these early saves time and money. Also, check your design against quality standards to catch errors.
| Source | Evidence |
|---|---|
| PCB Guide: Why Do PCBs Fail? | Wrong sizes or spaces can cause big problems. |
| 5 Typical PCB Design Challenges | Heat can damage parts over time. |
| An In-Depth Guide to PCB Functional Testing | Testing helps find and fix errors early. |
By avoiding errors and using good design practices, you can create a custom keyboard PCB that works perfectly.
Prototyping and Testing Your Mechanical Keyboard PCB
Ordering a Prototype from KING FIELD
After finishing your PCB design, order a prototype. A prototype lets you test your design in real life before making many. KING FIELD makes great prototypes based on your needs. Their skill ensures your custom keyboard PCB works well and meets standards.
When ordering, send detailed Gerber files. Include PCB layers, copper thickness, and hole sizes. These details help KING FIELD make a prototype that matches your design. Start with a small batch to save money while testing. If your PCB is hot-swappable, make sure the prototype has switch sockets.
Tip: Share special needs like RGB lights or unique mounts to match your vision.
Testing and Debugging the PCB
Testing your prototype helps find and fix problems. Start with simple power tests to check LEDs and USB ports. Use a multimeter to ensure all connections work.
Here’s what to focus on during testing:
| Testing Focus | Description |
|---|---|
| Switch Functionality | Check all keys work without ghosting issues. |
| RGB Performance | Test RGB lights for correct colors and brightness. |
| USB Communication | Make sure the USB connects properly to a computer. |
For deeper testing, try automated methods. These send signals to mimic real use. Burn-in testing runs the PCB for a long time to find hidden issues. For big batches, manufacturers use optical inspections, but manual testing works for small ones.
Note: Testing improves how your keyboard works and lasts longer.
Iterating and Refining the Design
Prototyping means testing and improving again and again. After testing, fix problems and improve your design. Ask keyboard fans for ideas and feedback. This teamwork can lead to better designs.
Make several prototypes to try new layouts, switches, or keycaps. For example, test a new plate material to change the sound and feel. Careful testing, like regression testing, ensures fixes don’t cause new problems.
Pro Tip: Write down changes for each version. This helps track progress and avoid old mistakes.
By following these steps, you can turn your first design into a finished product. Whether it’s for gaming or a small mechanical keyboard, testing and improving are key to success.
Manufacturing and Finalizing Your Custom Keyboard PCB
Getting Ready for Mass Production
Before making many PCBs, check your design carefully. Fix the layout to make it easier and cheaper to produce. For example, adding RGB lights for each key needs good power planning. It also needs neat signal paths to work well. Pick a layout that looks good and works great. RGB lights not only make it pretty but also help with use.
Choose production methods that match your design. Make sure your PCB can be made easily without losing quality. Finish your Gerber files, which have all the details for production. Check these files twice to avoid mistakes that could slow things down.
Picking KING FIELD as Your Maker
Choosing the right maker is very important. KING FIELD is great at making high-quality PCBs just for you. They can handle things like multi-layer boards, hot-swap sockets, and cool RGB setups. With KING FIELD, you get top tools and a team that cares about doing a great job.
KING FIELD follows rules like ISO 9001 and IPC-A-600 for quality. They use special checks like AOI and X-ray to find problems during production. These checks make sure your keyboard PCB is strong and works well.
Checking Quality and Shipping
After making the PCBs, test them to make sure they work. AOI finds problems during making, and flying probe tests check the electric parts. X-rays look for hidden issues in tricky parts. Burn-in tests check if the PCB works well under stress, like in real use.
When testing is done, think about shipping. Pack the PCBs safely so they don’t get damaged. If you also made a keyboard case or plate, check their quality too. A good keyboard should look nice and feel great when used.
By doing all this, you can make a custom keyboard PCB that works well and makes users happy.
Making a custom keyboard PCB has many important steps. First, decide your layout and features. Pick the right tools and plan your budget. When designing, place parts carefully to avoid heat problems. Use 3D tools to check if parts fit well. Test your prototype to fix issues. A good design process makes production faster and easier.
Quality checks like AOI and burn-in tests ensure your keyboard lasts. Working with a trusted maker like KING FIELD makes things simpler. Start now and build a keyboard that’s just right for you.
FAQ
What software can you use to design a custom keyboard PCB?
You can try KiCad, Eagle, or Allegro X PCB Designer. These programs help you draw schematics, plan PCB layouts, and make Gerber files for production. Pick software based on your skill level and project size.
Tip: Beginners should start with KiCad. It’s free and easy to use.
How do you check a keyboard PCB prototype?
Begin with simple power tests using a multimeter. Test if switches work, RGB lights glow, and USB connects. For detailed checks, use tools that mimic real use. Burn-in testing shows if it lasts under long use.
Note: Early testing finds problems before making many copies.
What are Gerber files used for in PCB production?
Gerber files hold all the details of your PCB design. They include layers, hole sizes, and copper paths. Factories use these files to build your PCB correctly.
| File Type | What It Does |
|---|---|
| Copper Layers | Shows electrical connections. |
| Drill Files | Marks where holes go. |
| Silkscreen | Adds labels and symbols. |
How can you avoid common mistakes in PCB design?
Check your schematic and layout carefully for errors. Use design rule checks (DRC) in your software to spot spacing or trace issues. Keep traces short and don’t overlap them. Testing prototypes helps catch problems early.
Pro Tip: Review your design later or ask someone else to check it.
Why pick KING FIELD for PCB production?
KING FIELD is skilled in making custom PCBs, like multi-layer boards and hot-swap sockets. They follow strict rules like ISO 9001 and use advanced tests like AOI and X-ray to ensure quality.
Emoji Highlight: 🛠️ Expertise + 🏆 Reliability = KING FIELD